

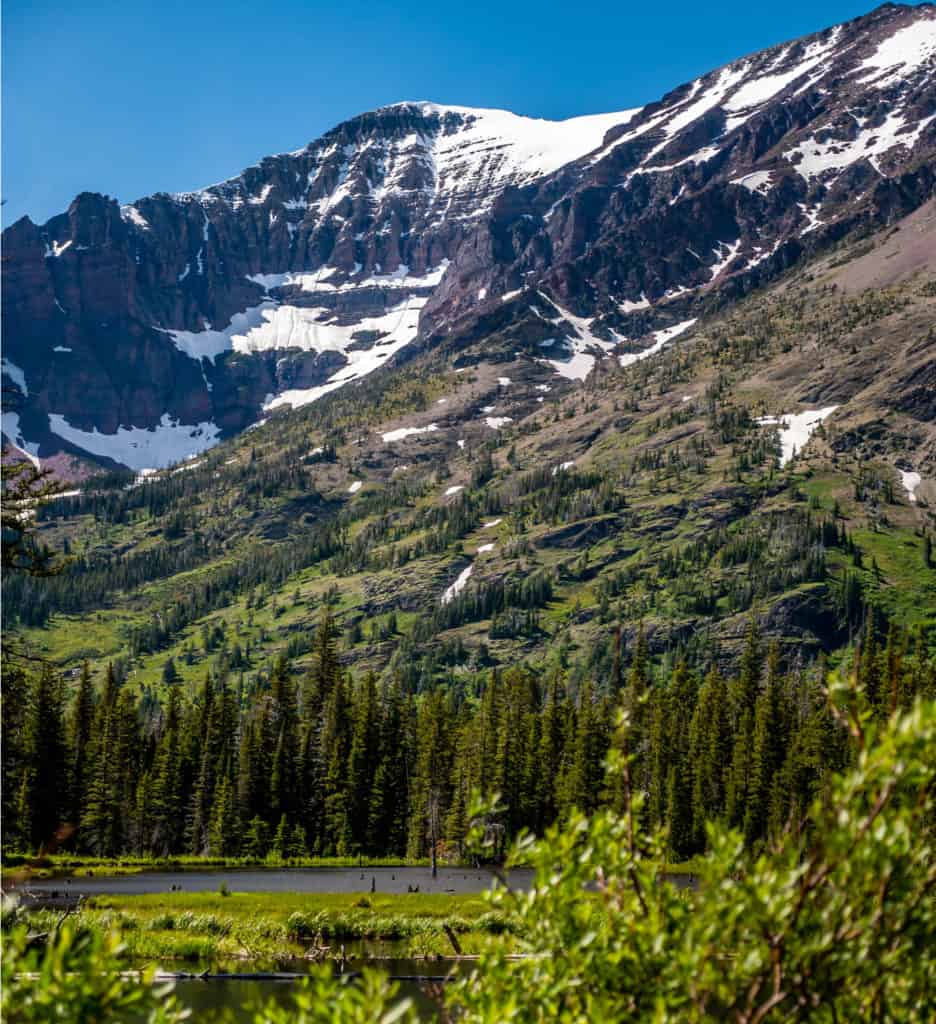
Just south of the US-Canada border is Glacier National Park.
Located in northern Montana, Glacier is the only park in the Big Sky State (excluding Yellowstone, but that spans three states and is mostly in Wyoming)! Home to the famous Going-to-the-Sun Road, Glacier is a true joy to drive and hike through.
Living up to its name, the park has 26 glaciers with the largest spanning almost three quarters of a mile! Being that you’re in Montana, there is something in Glacier for every outdoor passion. In between hikes you can fit in biking, driving, or fishing (you can also cross-country ski during certain months)!
Glacier is open every hour of the day, 365 days a year, and sees an average of 3 million visitors annually. Expect peak season to be the end of May until early September. Also expect that stretch to be the only time during the year that the park and its services are fully opened. If visiting outside of the summer, plan ahead as you’ll need to be fairly self-sufficient due to Glacier’s challenging off-season weather.
Before Entering the Park
July and August hold the warmest temperatures at an average of 70 degrees for the high and 45 for the low. December has the lowest high temperature at an average of 27 degrees and is tied with February for lowest average low at 14 degrees. Unless you’re an outdoors aficionado, visiting during the winter, while beautiful, can be difficult.
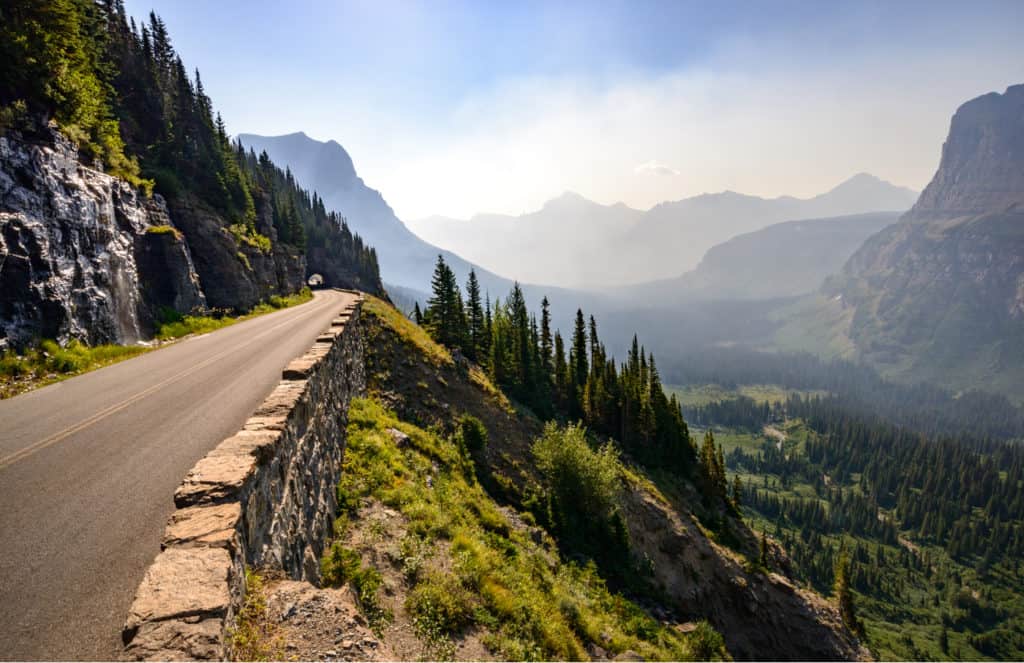
One of Glacier’s most popular attractions, the Going-to-the-Sun Road is now a ticketed entry system. You’ll need to acquire a ticket if driving before the second week of September. Since much of this itinerary is on this road, you’ll want to get a reservation ahead of time. The reservation fee is only $2 and entry tickets are good for seven consecutive days. More information is available on the National Park website.
If you plan to camp, you have some options. Campsite reservations also qualify for Going-to-the-Sun Road ticketing. Note that Fish Creek and Many Glacier campsites are reservation only while the remaining open campsites are first come, first served.
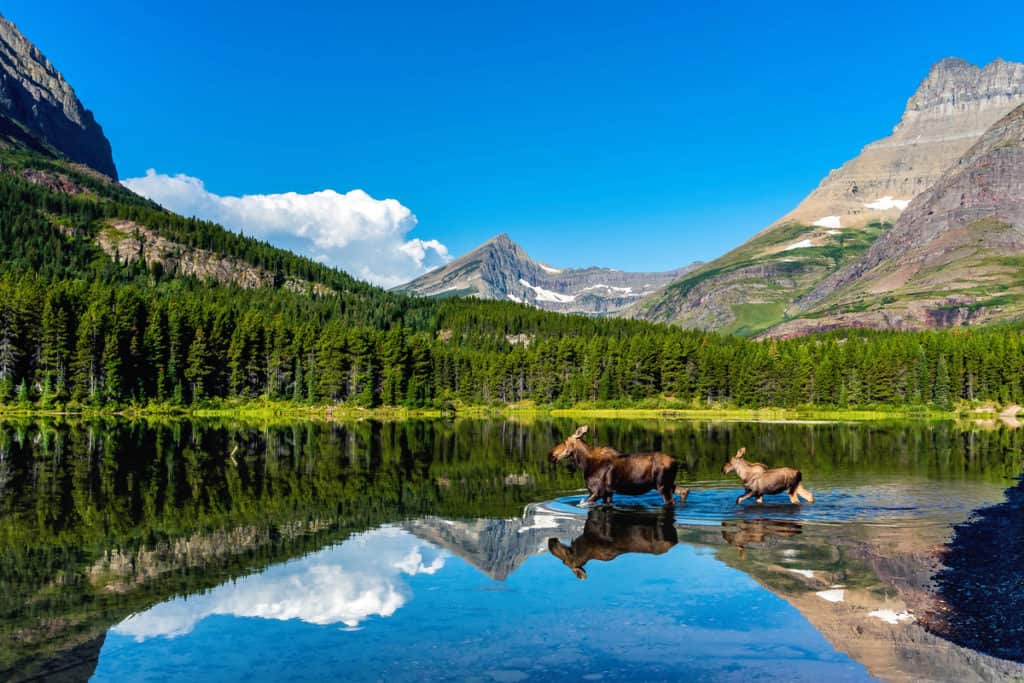
While in Glacier you may see a bear or two. While it’s unlikely you’ll come into close contact with a bear while on your hikes, Glacier National Park is home to black and grizzly bears, so make sure you know how to stay safe if you should encounter either.
Day One in Glacier National Park
You’ll start your trip via US Highway 2 as it enters the park through West Glacier. You’ll follow Going-to-the-Sun Road until you come to a T-intersection by the Apgar Visitor Center. Take a left onto Camas Road. Follow Camas Road until you see the turn for Fish Creek Campground Road. Follow Fish Creek Campground Road until you pass by the ranger station on your right, then turn left as the road forks. Take a right onto Inside N Fork Road and continue until you see parking for the Lake McDonald Trailhead on your left. If you cross over Fern Creek, you’ve gone too far.
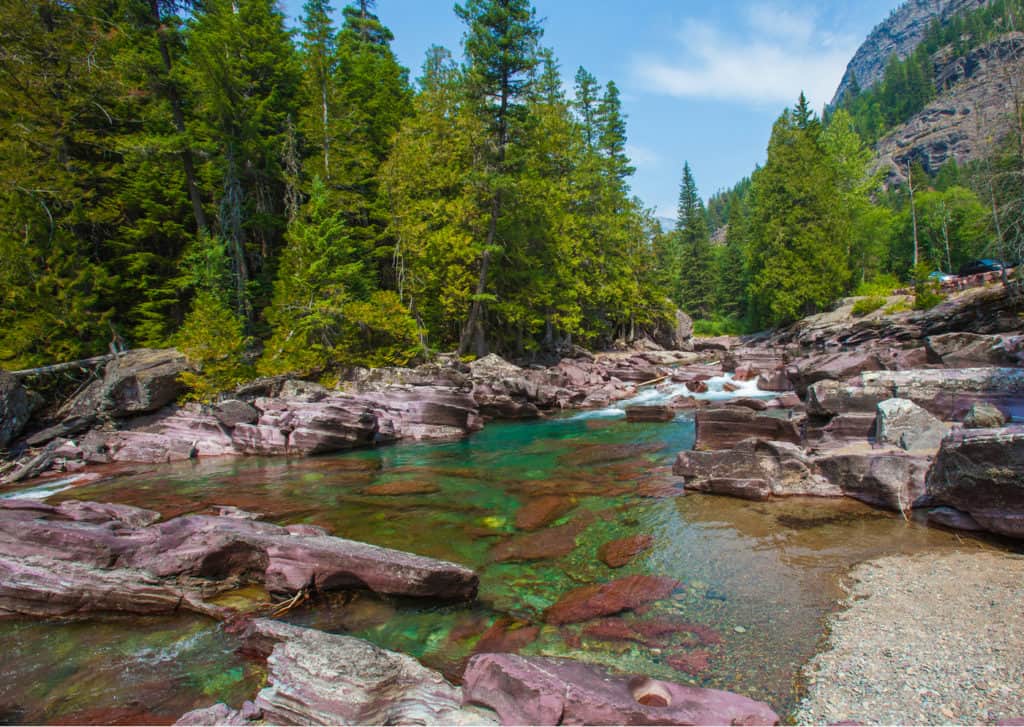
Stop 1: Rocky Point via Lake McDonald Trail
Length: 2.2 miles
Elevation gain: 262 feet
Type: Out and back
Difficulty: Moderate
Estimated time to complete: 1 hour
Your journey through Glacier National Park starts with a great photo op! While this trail is popular, you can minimize crowds by getting there early. A bonus, if you time it right, is that Rocky Point is a great place to be at sunrise. If you can set your alarm early enough, there’s no better way to start your trip through this park! This trail has its ups and downs, but none of them are too difficult. While considered moderately difficult, it should be entirely approachable for most hikers.
Stop 2: Johns Lake Loop
Length: 1.9 miles
Elevation gain: 183 feet
Type: Loop
Difficulty: Easy
Estimated time to complete: 1 hour
You’re going to be making your way to the other side of Lake McDonald for the remainder of today. Drive back out to Camas Road and make a left. Continue until Camas Road becomes Going-to-the-Sun Road. Follow Going-to-the-Sun Road past the lake McDonald Lodge area until you get to the far end of the lake itself. Turn left onto North McDonald Road and cross over McDonald Creek. Look for the trailhead on the left side of the road.
The start of the Johns Lake Loop uses the Upper McDonald Creek Trail for first half mile. If oyu want to combine this trail with the next one so you don’t hike this half mile section twice, continue onto the Upper McDonald Creek trail where you would otherwise turn right.
If you don’t mind hiking the same first half mile, you can just as enjoyably hike both trails individually. Combining them, however, does mean skipping Johns Lake itself.
Stop 3: McDonald Creek Trail
Length: 5.6 miles
Elevation Gain: 278 feet
Type: Out and Back
Difficulty: Easy
Estimated Time to Complete: 2.5 hours
Where you opt to do this hike separately or with the first half of the Johns Lake Loop won’t affect this trail as you’ll hike this entire out and back either way. Expect some other hikers on this trail, but it isn’t one of the more heavily trafficked options in the park, so you can take your time and enjoy the quiet.
Note that if you opt to combine these trails, it will save you about a mile and around 100 feet of elevation gain. Expect the combined route to take you around 3 hours.
This out part of this trail is a fairly steady uphill hike with the back section being a moderate downhill. This is an easy hike though, and all skill and interest levels should enjoy it!
If you combined the two and changed your mind, you can still see Johns Lake on the McDonald Creek via Johns Lake out and back. This 2-mile hike will take about an hour round-trip.
If you head back down Going-to-the-Sun Road, towards the middle of the Lake, there is lodging at the Lake McDonald Lodge area. If you choose to drive past Lake McDonald Lodge, you can camp at Spraque Creek, but it is first-come, first-serve. Both are great options as you’ll continue heading up the Going-to-the-Sun Road towards Avalanche Lake tomorrow!
Day Two in Glacier National Park
Day two starts by heading north on the Going-to-the-Sun Road towards another popular lake in Glacier National Park. Navigating this park is overall quite easy, so just drive until you see the Avalanche Creek Campground and the trailhead should be on your right. You can turn onto Avalanche Campground Road or Avalanche Picnic Area Road as parking is available on both sides of the road.

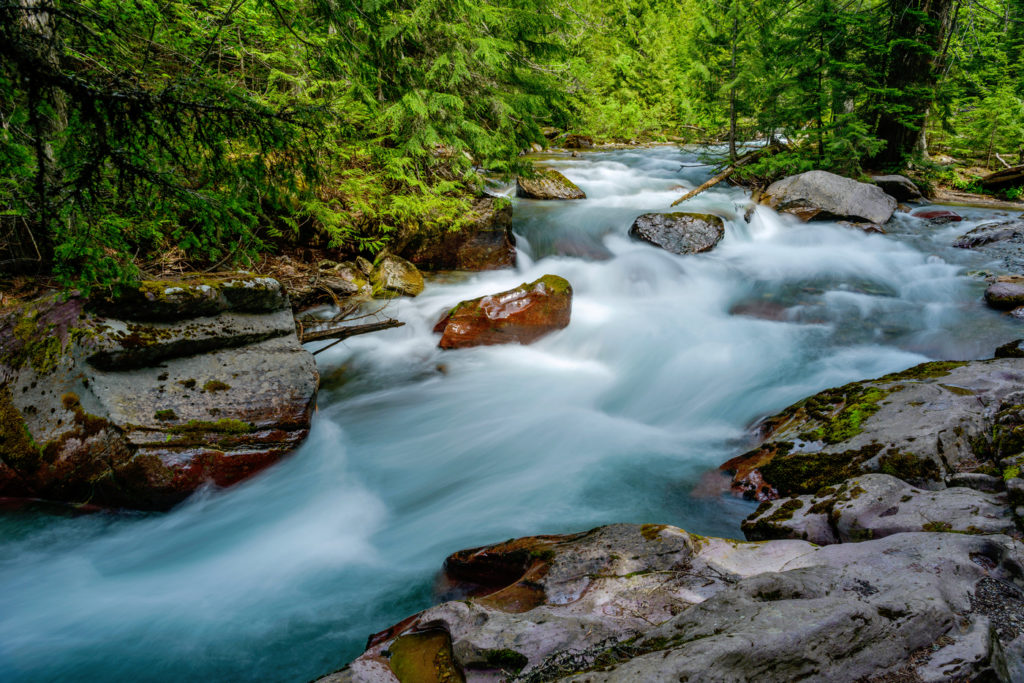
Stop 1: Avalanche Lake via Trail of the Cedars
Length: 5.9 miles
Elevation Gain: 757 feet
Type: Out and Back
Difficulty: Moderate
Estimated Time to Complete: 3 hours
Avalanche Lake is one of the more popular hikes in Glacier, so getting there early is advised. If you opted to camp in the park, you’re off to a good start!
On the way out, you’ll get some good views of Avalanche Creek to your left and you’ll hike through some of Glacier’s best forests! The first two miles are a steady uphill which levels out as you come upon Avalanche Lake. The last two miles are a steady descent, and you’ll see Avalanche Gorge as you cross over Avalanche Creek towards the very end of the trail.
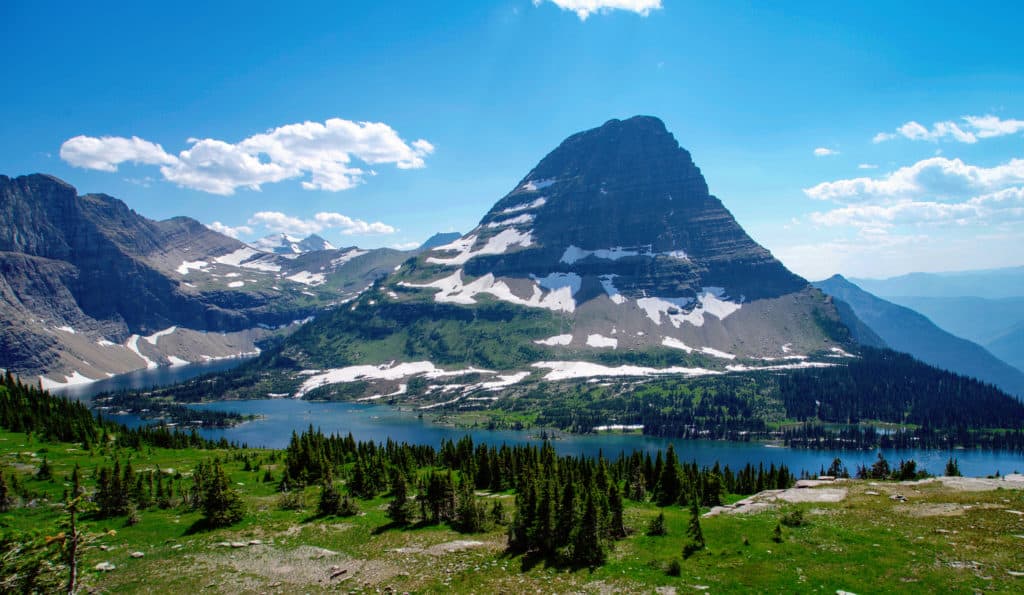
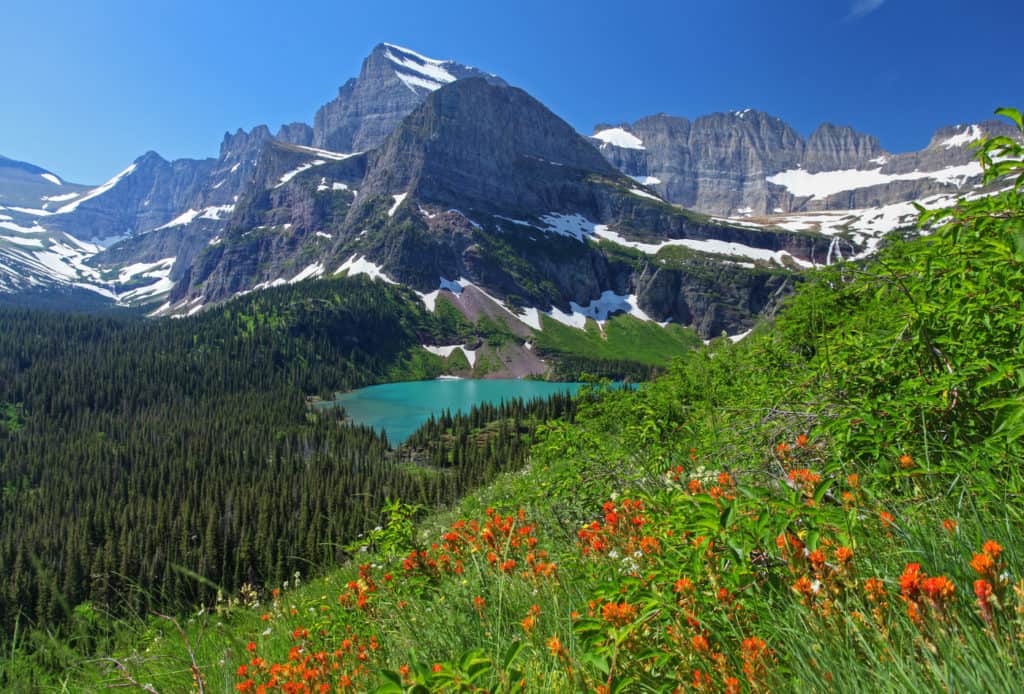
Stop 2: Hidden Lake Trail
Length: 5.3 miles
Elevation Gain: 1,374 feet
Type: Out and Back
Difficulty: Moderate
Estimated Time to Complete: 3 hours
Today has fewer hikes than usual, but both of them are extensive and enjoyable! Continue up the Going-to-the-Sun Road towards Logan Creek. You’ll pass over Logan Creek twice. After the second pass, look for the Logan Pass visitors center and parking area to be up on your right-hand side and make the first turn into the parking area road. If you’re still catching your breath from the Avalanche Lake hike, stop into the Logan Pass Visitor Center for a quick break!
Your second stop of the day allows you to hike to one of Glacier’s most picturesque lakes and enjoy an afternoon by the water! This is a very popular hike so take your time and mind the crowds. The trailhead will be in the parking area; make sure you don’t take the Haystack Butte Trail by accident!
If the full Hidden Lake Trail sounds a little much for you, you can hike the shorter Hidden Lake Overlook Trail. At just over half the time and mileage, this trail gives you a lot of the benefits of the full version in a much shorter amount of time. While you will save about 800 feet in elevation gain and still get some great views, turning around at the overlook means you won’t actually hike down to Hidden Lake itself. If elevation is a concern (as you’ll start the hike at 6,600 feet), you may want to take the shorter route. If you take your time though, this is a moderately difficult trail that can be finished by most hikers.
If you don’t want to drive all the way out of the park at the end of the day, consider heading back to the Avalanche Lake Campground or continuing up the Going-to-the-Sun Road towards the Rising Sun Campground. You will have to do some backtracking tomorrow morning if you choose to camp at the Rising Sun Campground, however.
Day Three in Glacier National Park
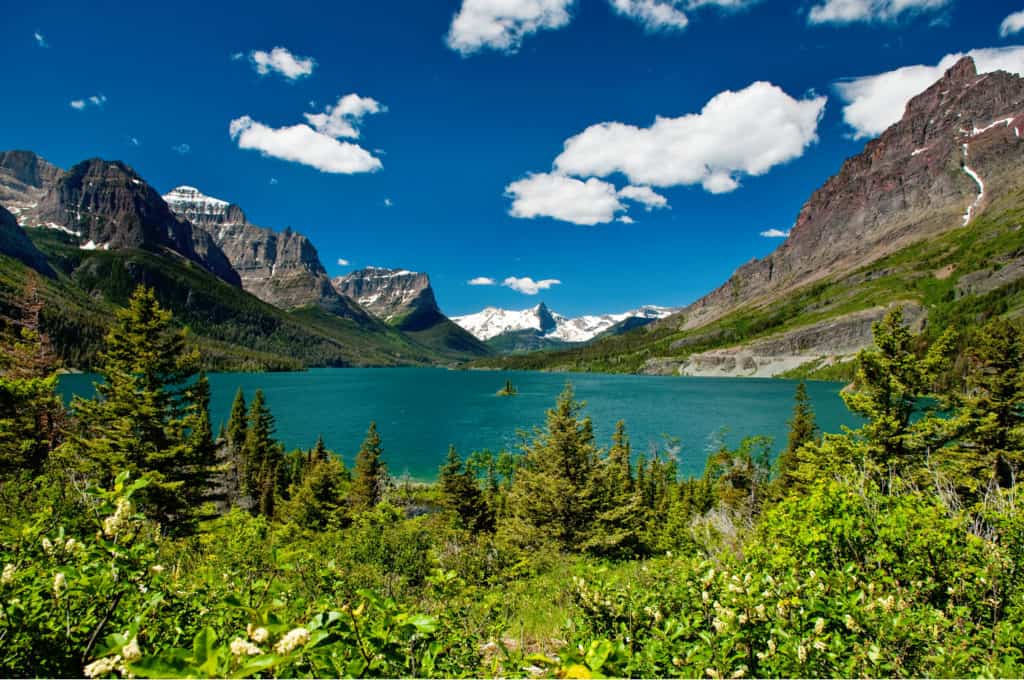
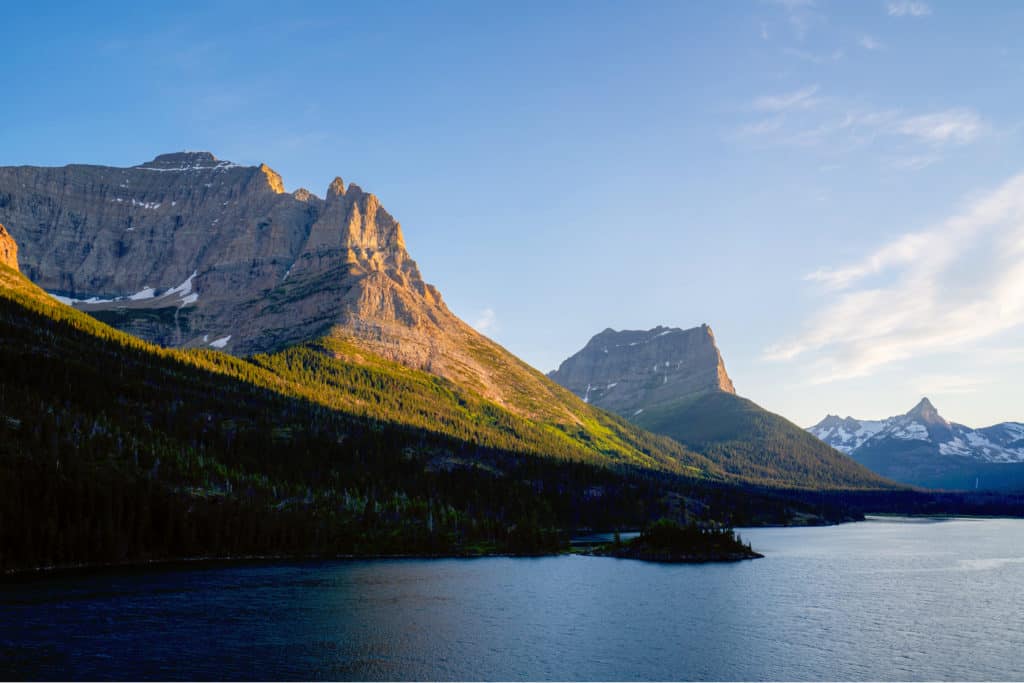
Your last day in Glacier is centered around one of its larger bodies of water, St. Mary Lake. You’ll be starting your day just before St. Mary Lake, near Going-to-the-Sun Mountain. You’ll be just up the road from the Jackson Glacier Overlook, so feel free to stop at that photo spot if you have time before or after your first stop of the day!
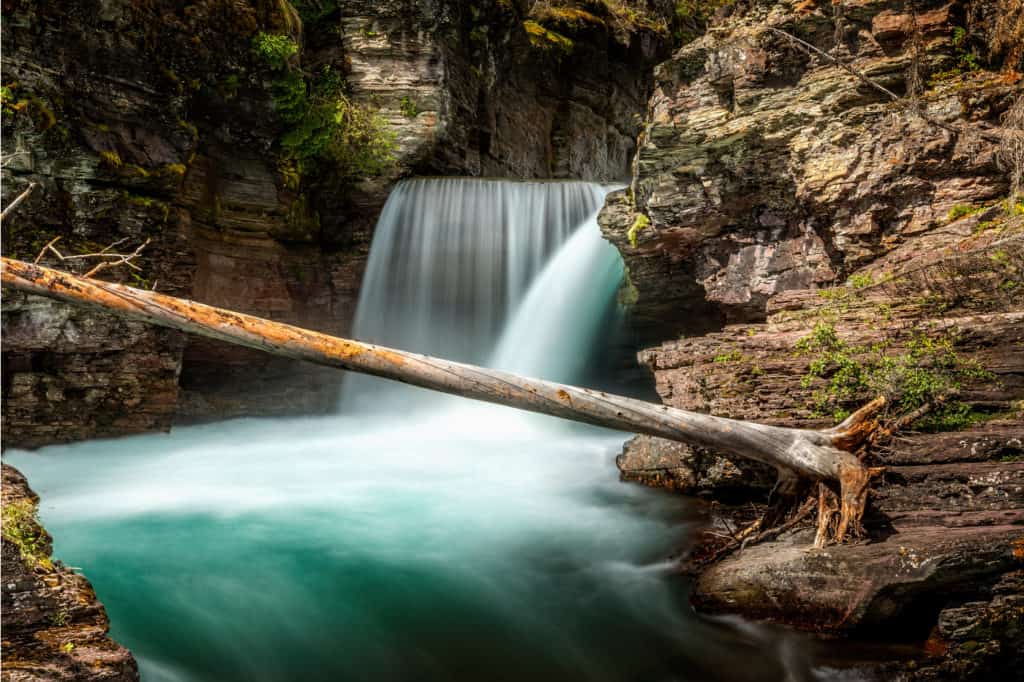
Stop 1: Deadwood Falls
Length: 2.9 miles
Elevation Gain: 626 feet
Type: Out and Back
Difficulty: Moderate
Estimated Time to Complete: 1.5 hours
Deadwood Falls is a great stop first thing in the morning. If you get there early enough, you have a chance to be one of the only hikers on the trail. A moderate out and back, this is a great way to stretch your legs in the morning. The hike heads downhill to get to Deadwood Falls, which means you’ll have to hike out for the second half. Take your time and enjoy Deadwood Falls before heading back and you won’t have any trouble completing this hike.
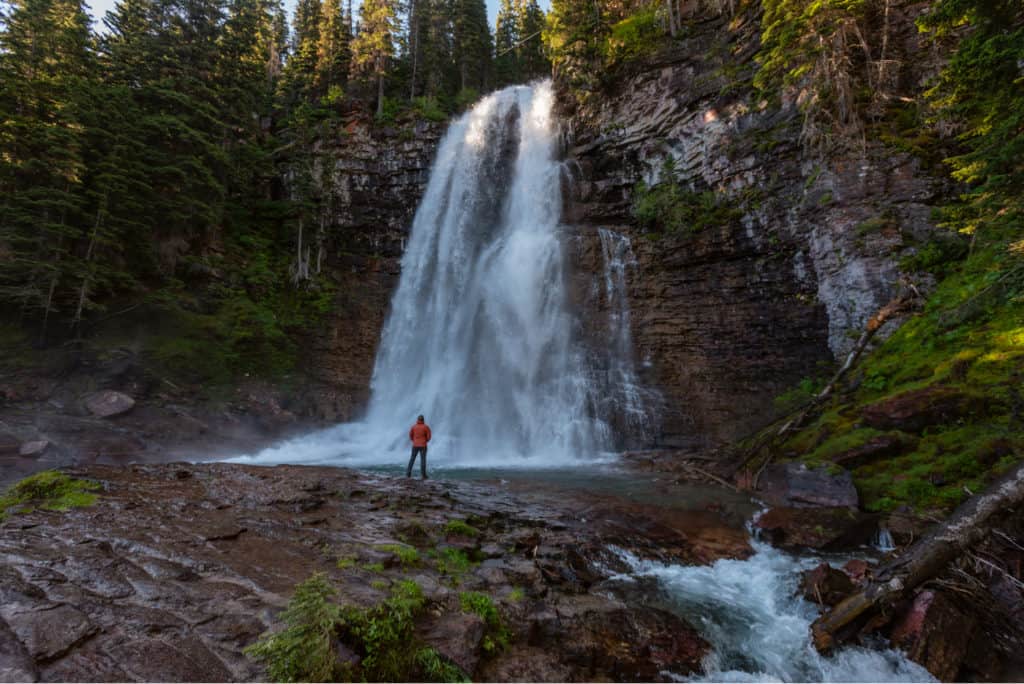
Stop 2: St. Mary and Virginia Falls Trail
Length: 2.9 miles
Elevation Gain: 452 feet
Type: Out and Back
Difficulty: Easy
Estimated Time to Complete: 1.5 hours
You’ve finished backtracking for the day and continue on down Going-to-the-Sun Road! Continue up the road and look for the trailhead on the right. Keep your eyes open for good roadside parking as there isn’t a guarantee that you’ll be able to find easy parking at the trailhead.
There are a number of smaller unnamed bonus waterfalls on this trail. Don’t let them fool you into turning around early accidentally though, keep hiking until Upper Virginia Falls at the turnaround point. Look for Saint Mary Falls on your right about 0.8 miles into the trail. If you missed it on the way out, look for it on your left on the way back!
Stop 3: Sun Point Nature Trail
Length: 1.7 miles
Elevation Gain: 213 feet
Type: Out and Back
Difficulty: Easy
Estimated Time to Complete: 50 minutes
There are a few trails in this area that cover similar routes. If you want the best return on your investment of time, then this trail and Stop 4 are your best choices.
You won’t have to go far for this one. Continue up the road until you cross the Baring Creek Bridge and look for a parking area up ahead on your right. The trailhead for the Sun Point Nature Trail will be on the other side of the road. You’ll spend a bit over half of this hike alongside the lake. With minimal elevation gain, this is a relaxing walk that the whole family will enjoy.
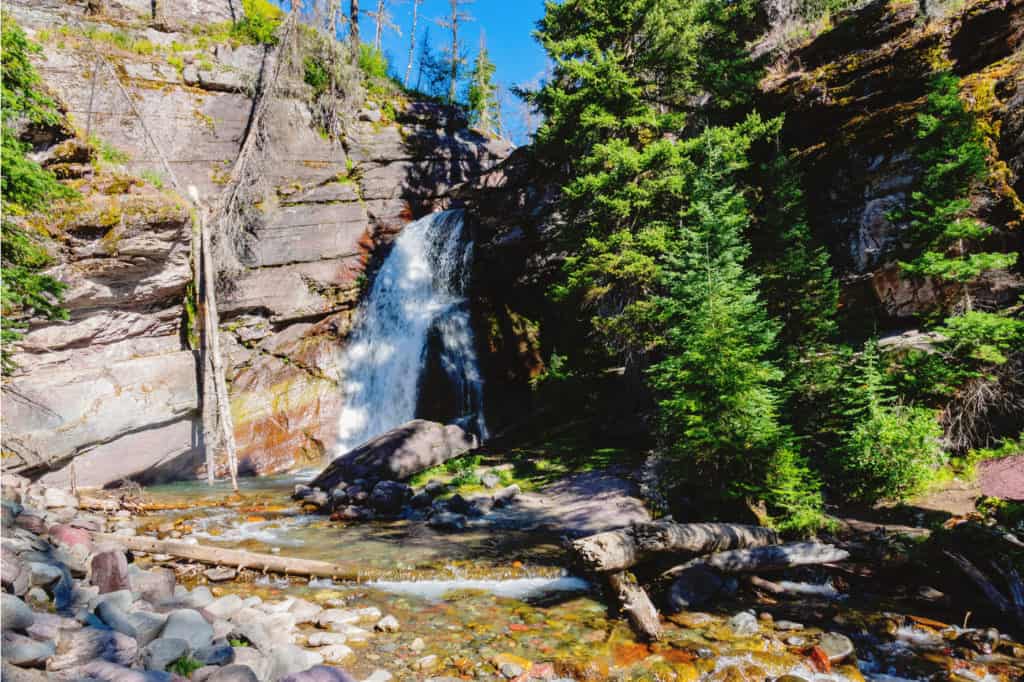
Stop 4: Baring Falls via Piegan Pass Trail
Length: 1.3 miles
Elevation Gain: 65 feet
Type: Out and Back
Difficulty: Easy
Estimated Time to Complete: 30 minutes
Make sure you pick the right starting point for this one. There are two trails with this name that will take you on different parts of the Piegan Pass Trail to Baring Falls. One of them is across the road from the Sun Point Nature Trail’s start. The one you’re looking for is further up the Going-to-the-Sun Road. Turn right onto Sun Point Road and the trailhead will be at the end of the road on the right side.
You’ll follow the water the entire route and turn around just after crossing over Baring Falls. The trail forks about half a mile in, make sure to take the left fork for Piegan Pass instead of Siyeh Pass.
Stop 5: Beaver Pond Trail
Length: 3.6 miles
Elevation Gain: 341 feet
Type: Loop
Difficulty: Easy
Estimated Time to Complete: 1 hour and 45 minutes
Stop 5 is optional depending on how you plan to exit Glacier National Park. If you plan to leave through the Saint Mary exit, then you should stop here on your way out. If you plan to leave through a different exit, you can skip Beaver Pond if you’re running low on time.
Those who choose to add Beaver Pond to their itinerary should take Going-to-the-Sun Road towards Saint Mary and turn right onto St. Mary Area Road and continue straight until you reach the loop at the end of the road where the trailhead is located. Look for the Red Eagle Trail, which will quickly come to a fork. Continue straight onto this trail and follow it until you’ll make a turn onto the Beaver Pond Trail and head back. You’ll really enjoy the mountain views and low crowds as you finish up your time in the park!
If extra time or convinced to stay a fourth day, you can leave the park via US Route 89 or West Shore Lower Saint Mary Lake Road. Both will take you along Lower Saint Mary Lake and towards Babb Montana. Both roads converge and become US Route 89 just before Babb either way. Take a left onto Many Glacier Road and head towards Lake Sherburne and some more great Glacier National Park hikes!
As always, feel free to edit this itinerary to suit your needs, but you can’t go wrong with any of these hikes!
Remember to stay safe and be watchful for any of the numerous animals that live in Glacier National Park. Hopefully this itinerary has helped inspire your next trip to the Northern Montana wilderness! We can’t wait to hear all about it!


No Comment