
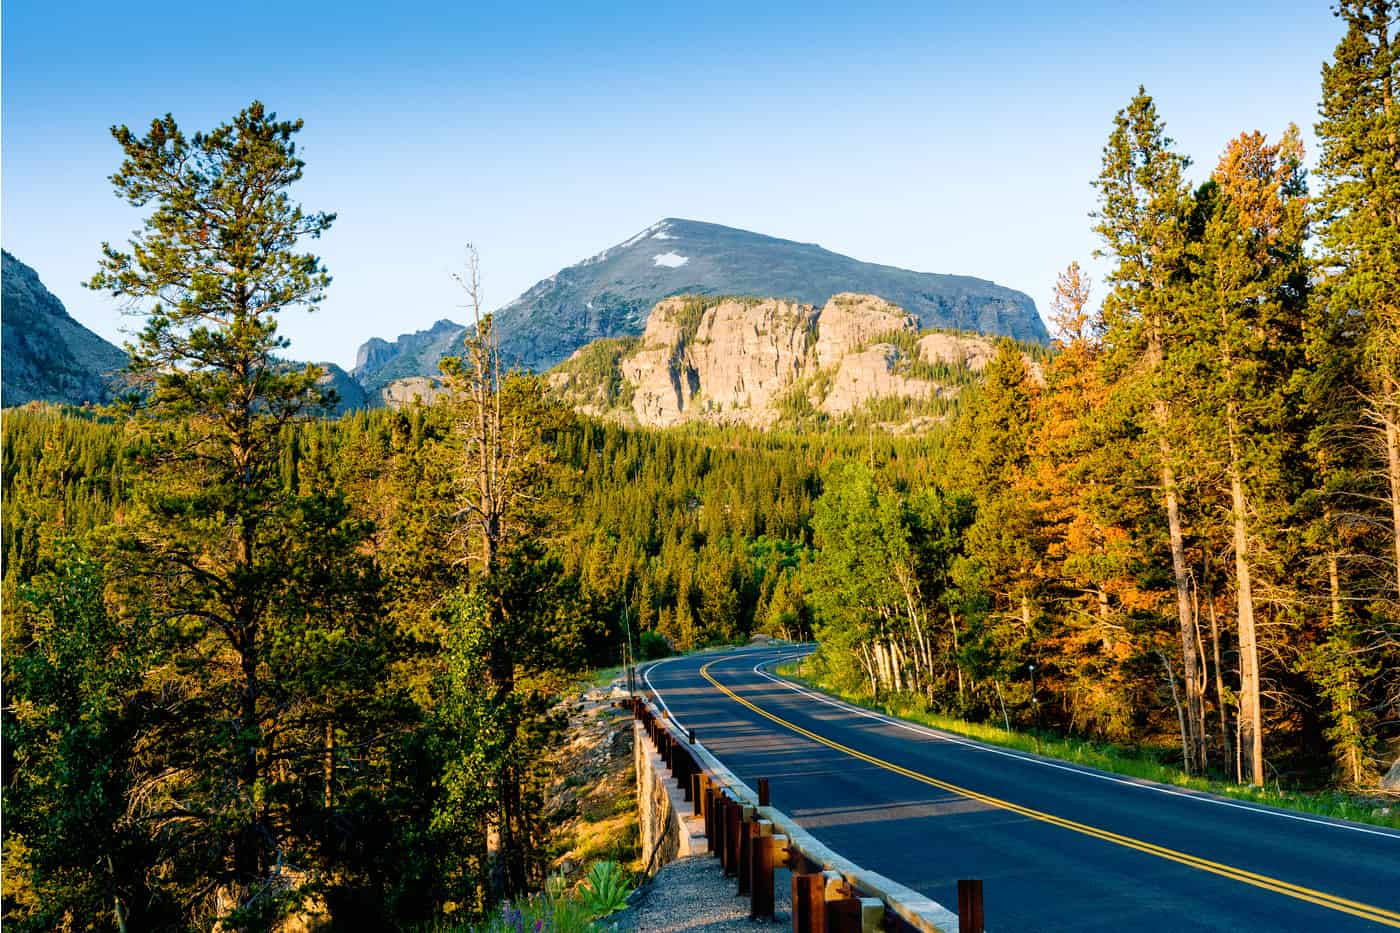
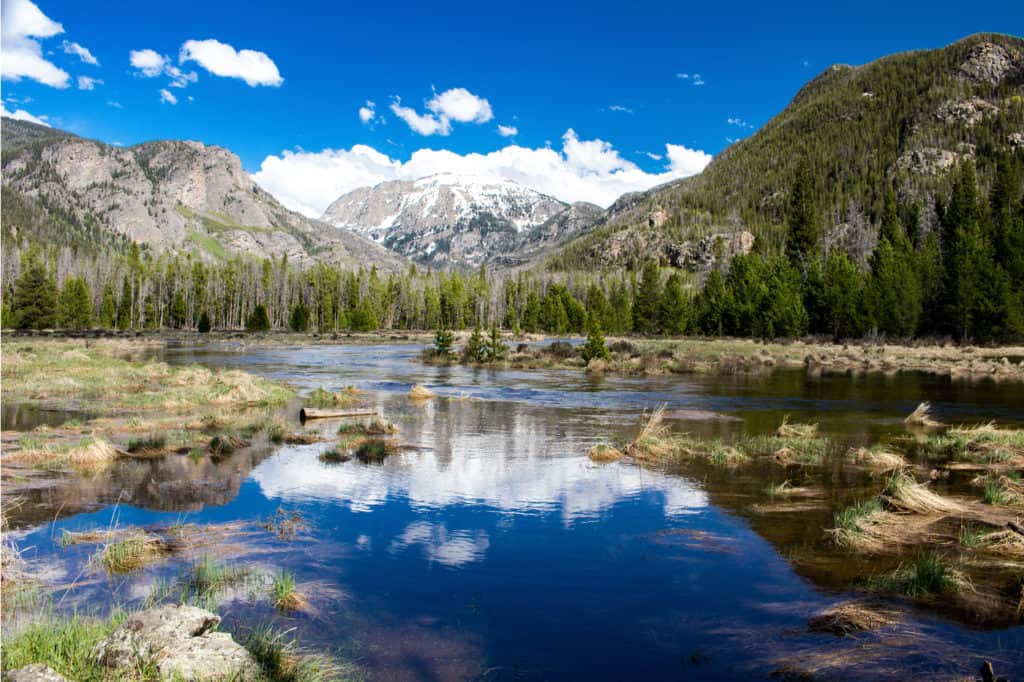
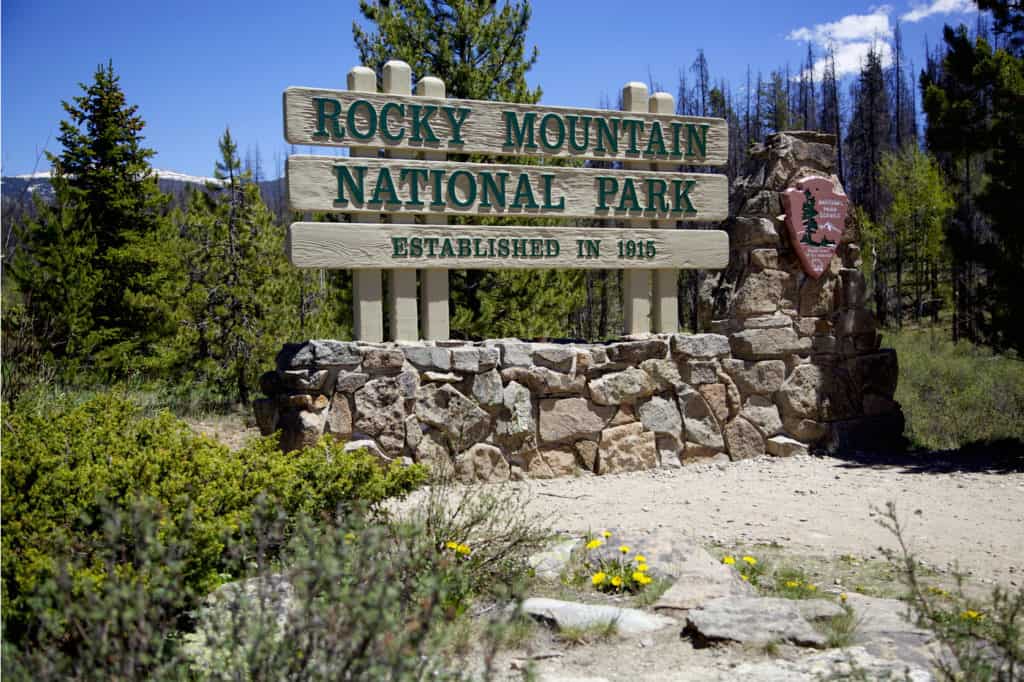
If you’re looking to take your hiking adventures to new heights, then there’s no better place than the Rocky Mountains! At more than a mile high, what Rocky Mountain National Park lacks in oxygen it more than makes up for in breathtaking (pun intended) views!
Fun fact: the lowest point in Rocky Mountain National Park is higher than the highest point in Great Smoky Mountains National Park! Only five national parks have taller peaks than Rocky Mountain, with the top three being in Alaska.
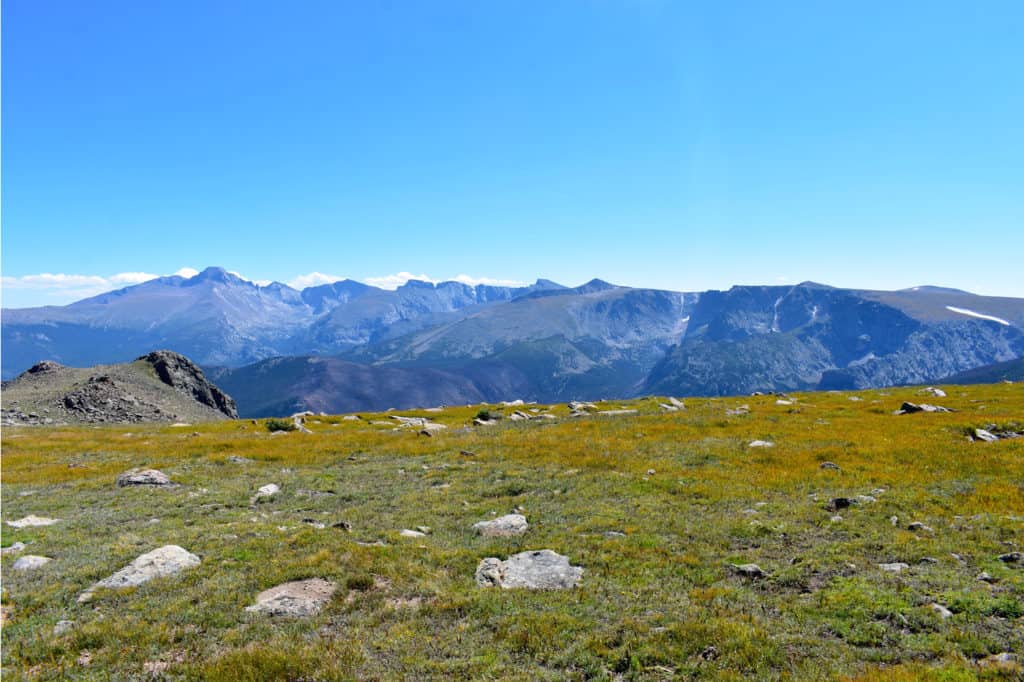
With the park having the elevation that it does, you’ll want to moderate your initial efforts if you aren’t used to the elevation that you’ll be hiking at. If you take things a little slower on the first day, you’ll have plenty of time to acclimate and enjoy your hikes! Of course, the longer your stay is, the better you’ll acclimate. However, if you only have three days you can absolutely make the most of them!
Before Entering the Park
You’ll want to note that for much of this year, reservations are required. Currently, they’re needed between May 27 and October 10, 2023. If you plan to camp at Rocky Mountain, you don’t need to worry about reservations, as your campsite confirmation will be all that’s necessary, outside of the usual entry fee.
If you don’t plan to camp in the park (although we suggest you take advantage of the opportunity if possible) you’ll need a timed entry permit. A timed entry permit is a reservation that allows you to get into the park in a specific two-hour window.
You’ll want to reserve timed entry permits online, and reservations are for the following month, i.e., July reservations go live on June 1st. Don’t plan on getting your permits at the park as there is a very low chance they’ll be available. Save yourself the hassle and reserve online.
There are two different reservations available, so if you only plan to be in the park during the day, make sure your timed entry includes access to Bear Lake Road Corridor as that will come up in this itinerary and you won’t want to miss out!
Depending on when you go, you may run into some trail closures due to fires. Always check for the most up to date closures before leaving, but this itinerary won’t include any trails that have been significantly impacted by fires and are closed at the time of writing this.
Day One in Rocky Mountain National Park
You’ll want to enter Rocky Mountain through the Beaver Meadows entrance, which will follow US Route 36 west from Estes Park through the Beaver Point area and into the park. The western terminus of US Route 36 is actually in the park itself!
As you come into the park, you’ll follow Route 36 to the right after Moraine Avenue. Take a left to follow Bear Lake Road when you come upon it and make a right onto Moraine Park Campground Road. Moraine Park Campground is conveniently located up this road if you’re looking to camp! Look to turn left onto Fern Lake Road and take it to the trailhead. You’ll find multiple parking options at or near the trailhead.
Consider the first day as your chance to get acclimated to the elevation if it’s not something you’re used to. If you live closer to sea level, you may be better off just picking a couple of trails for this day depending on your hiking background.
Stop 1: Beaver Ponds
- Length: 2.3 miles
- Elevation Gain: 111 feet
- Type: Out and Back
- Difficulty: Easy
- Estimated Time to Complete: 1 hour
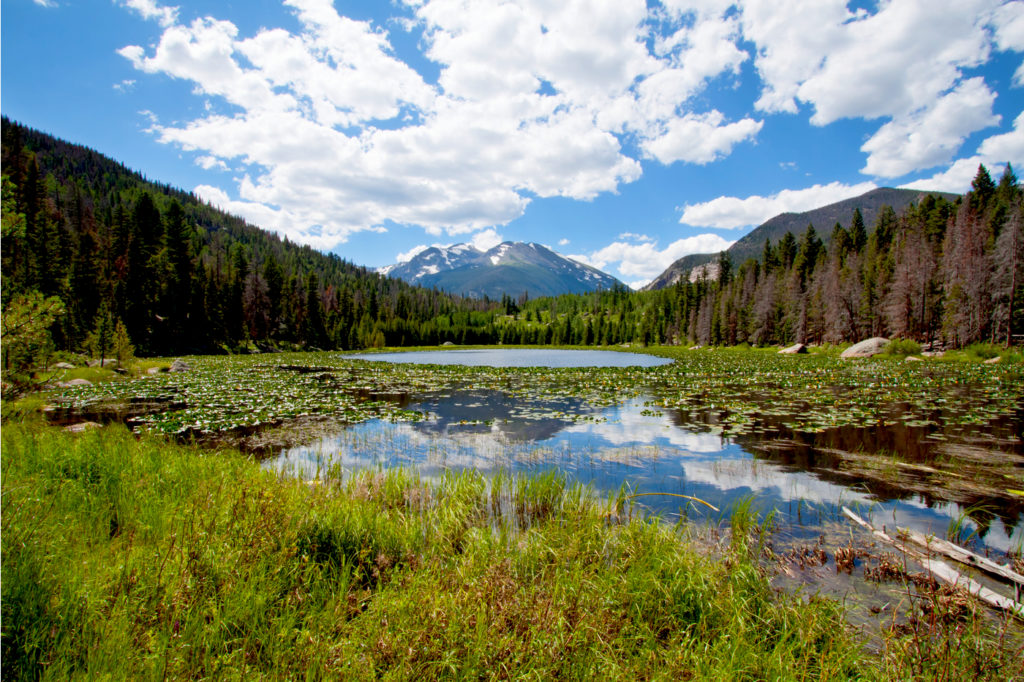
Beaver Ponds is a great way to start your Rocky Mountain experience! At just over two miles, it’s a fantastic way to stretch your legs and/or begin the acclimation process! A very approachable out and back, even at 8,000 feet, it should serve as a fun intro to the park for all skill levels, and you’ll get great water views on sunny days (and the park gets, on average, 238 of those a year)!
You may run into some crowds depending on what time you start your day, but the trail is only moderately trafficked and not one of the maximally popular trails that you’ll hike later.
Stop 2: Cub Lake
- Length: 5.1 miles
- Elevation Gain: 728 feet
- Type: Out and Back
- Difficulty: Moderate
- Estimated Time to Complete: 2.5 hours
Depending on how you felt going through the first half of Beaver Ponds, you can continue to Cub Lake. Instead of turning around once you hit Beaver Ponds, you can continue on to Cub Lake. If you feel up to it, it’s absolutely worth the extra trek! While you can’t swim in the lake, it’s well worth taking the time to enjoy the trail and lake at the end. You can bring a lunch and allow the Cub Lake Trail to be the main hike of day one if you like!
If you’re truly looking for a challenge, you can take the Cub Lake Trail Loop and follow the trail all the way around until you reach the trailhead again instead of making it an out and back! Taking the loop adds just under an extra mile, almost no extra elevation gain, and an 25-30 more minutes.
Stop 3: Upper Beaver Meadows Loop Trail
- Length: 1.1 miles
- Elevation Gain: 114 feet
- Type: Loop
- Difficulty: Easy
- Estimated Time to Complete: 30 minutes
Given the altitude, you may be ready to call it a day after those first two trails. If you’re looking for a little something extra, here’s one more option! You’ll need to take Bear Creek Road up to Route 36 and take a left. From there, follow Route 36 to Upper Beaver Meadows Road and take a left. You can follow this road all the way to parking at the trailhead.
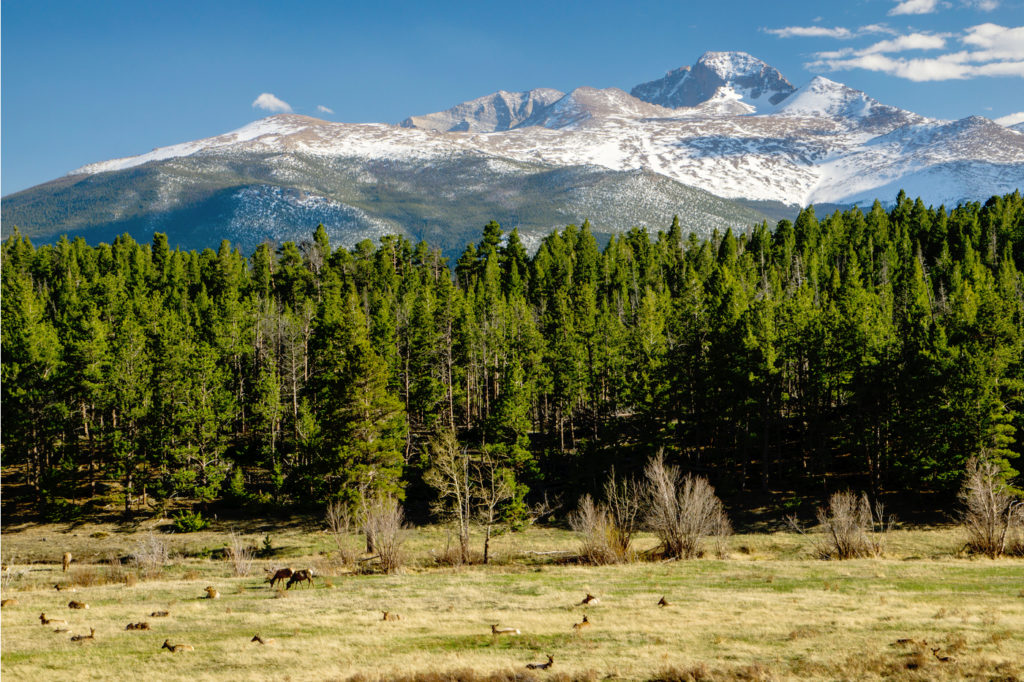
At just over a mile, it won’t be more challenging than the trails you’ve faced before, but it’s a scenic option to end your first day. You’ll get a chance to enjoy the meadows, see some of the remnants of the 2020 fires, and potentially get a look at some elk if you’re lucky!

Day Two in the Rocky Mountains
As was mentioned earlier, if going the timed entry route, Bear Lake Road access is important as this will be the focus of the second day! While it may initially seem counterintuitive to drive to the furthest part of Bear Lake Road, Bear Lake itself is incredibly popular. You’ll want to get there first thing as the parking lot can fill up before 10:00am (at the latest) during peak season. If coming from the Moraine Park Campground, expect this drive to take at least 20 minutes, although it may be longer depending on traffic, so err on the side of extra drive time.
Stop 1: Bear Lake Nature Trail
- Length: 0.7 miles
- Elevation Gain: 49 feet
- Type: Loop
- Difficulty: Easy
- Estimated Time to Complete: 20 minutes
Located right next to the final Bear Lake parking area is this short loop trail around Bear Lake itself. If you get there before the crowds, this trail is a serene way to start out day 2 and enjoyable for all levels of hiker, especially those with kids in tow. With just under 50 feet of elevation, it’s a flat trail and a great way to wake up your legs!
If you’re worried about crowds on the Emerald Lake Trail or got there later than intended, you can push this to your second stop of the day and prioritize Emerald Lake.
Stop 2: Emerald Lake Trail
- Length: 3.2 miles
- Elevation Gain: 698 feet
- Type: Out and Back
- Difficulty: Moderate
- Estimated Time to Complete: 1.5 hours
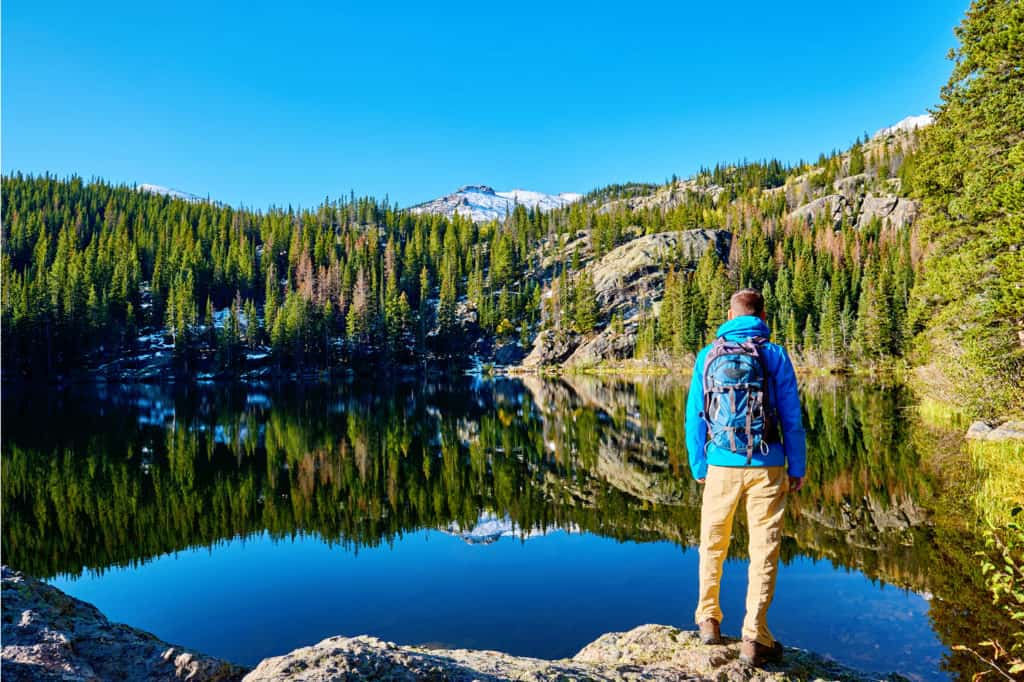
One of the most popular trails in the park and for good reason! The early wakeup call to get a parking spot will be well worth it once you see the lake. It’s also a great base for some of the other hiking trails in the area you’ll want to check out.
You’ll start at Bear Lake but get to enjoy three other lakes along the route! Nearing the turnaround point, you’ll have a decent climb to the top, but that’s the only significant incline you’ll run into. The peak of the trail is just over 10,000 feet so take your time at the turnaround point and enjoy the lake before heading back!

Stop 3: Bear Lake to Alberta Falls to Mills Lake
- Length: 6.8 miles
- Elevation Gain: 987 feet
- Type: Out and Back
- Difficulty: Moderate
- Estimated Time to Complete: 2 hours
Depending on how you felt after those first two hikes, you have a couple of options here. If you feel good at this point, then following Bear Lake to Alberta Falls to Mills Lake is the best trail for you. Take the Bear Lake Trail from Bear Lake Road and make a left at the fork and do the same at the fork in the trail that follows it. Walk until you see the trailhead and from there, you’ll make one more left to get onto the trail itself.
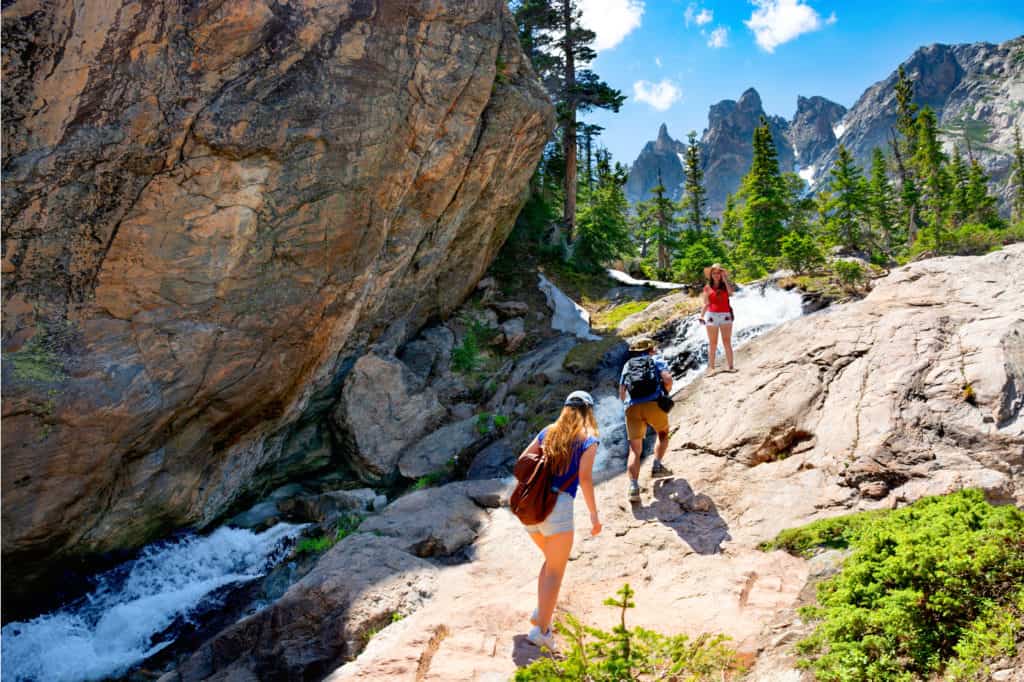
While just under seven miles, the trail is absolutely beautiful and the turn-around point at Mills Lake is inspiring enough to make you want to stay there as long as you can! The first mile or so to Alberta Falls tends to be busy, but the trail will get less crowded as it continues on. This hike is not easy due to the elevation gain, but if you’re up for the challenge, it’s so worth it!
If you don’t feel like hiking 7 miles, your best bet is the Alberta Falls Trail. While busier, this out and back is only 1.6 miles with 232 feet of elevation gained, giving it a rating of easy instead of moderate. Expect the Alberta Falls Trail to take you about 45 minutes, depending on how quickly you hike.
To get to this hike, you’ll need to drive back up Bear Lake Road until you see a pull-off area for parking and the Glacier Gorge Trailhead on the right side.
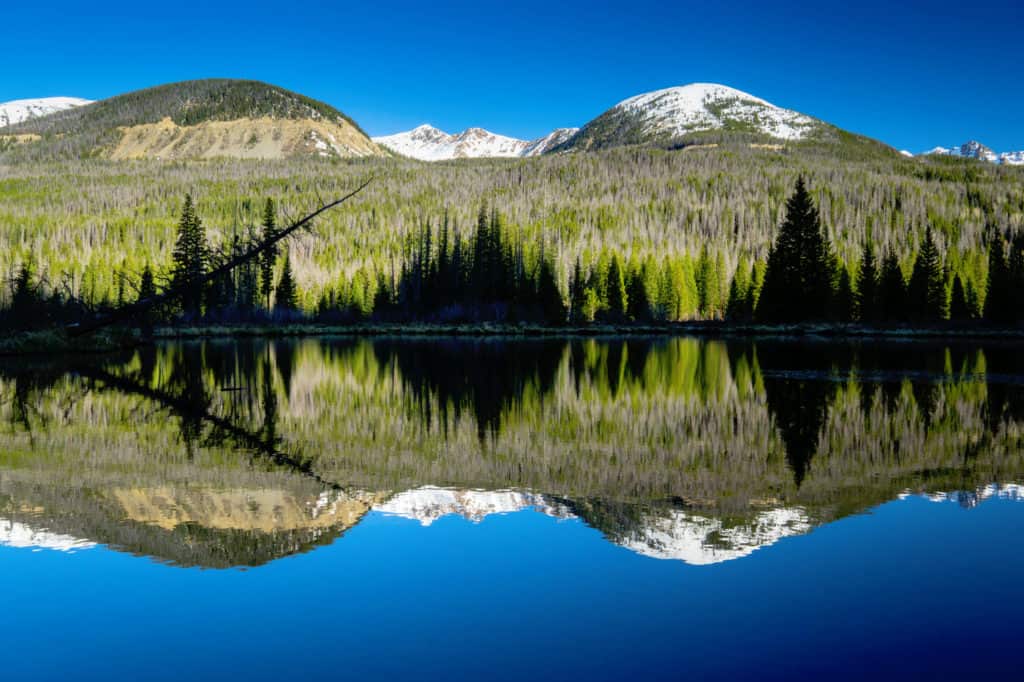
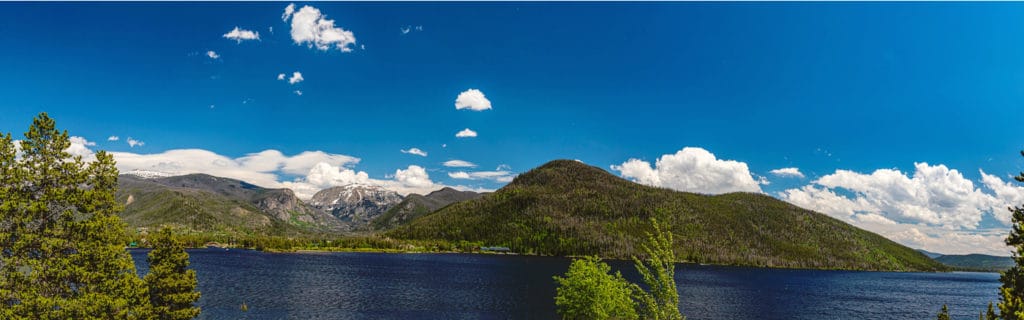
If you’re looking to camp in the park, about halfway between Bear Lake and the Moraine Park Campground is the Glacier Basin Campground.
Day Three in the Rocky Mountains
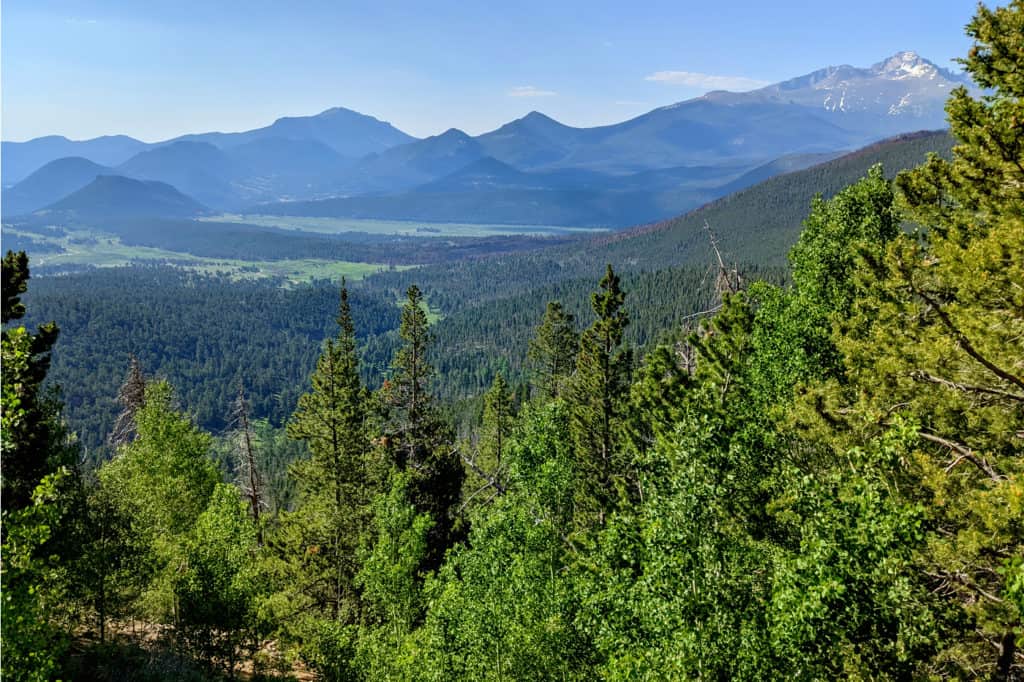
Your final day in Rocky Mountain takes you through the park, stopping to see a few more of the park’s best sites. If you camped at Glacier basin, you’ll leave the campground and turn right onto Bear Lake Road. At the fork for Route 36, turn left. When Route 36 forks and turns into Route 34, take the left fork and you’ll follow that all the way until the end of the day!
This itinerary will take you out the southwest exit of the park near Grand Lake. If you plan to leave via a different entrance, feel free to pick the trails on this day that are most convenient for your schedule and travel plans.
Stop 1: Toll Memorial Trail
- Length: 1.1 miles
- Elevation Gain: 154 feet
- Type: Out and Back
- Difficulty: Easy
- Estimated Time to Complete: 30 minutes
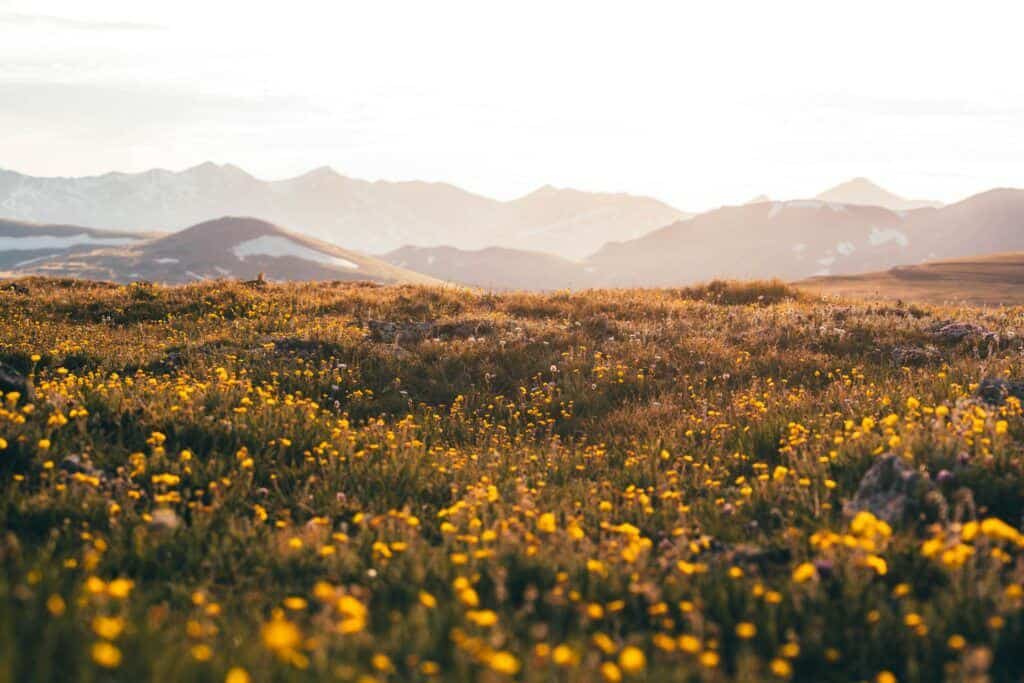
First stop on your final day is the Toll Memorial Trail. A shorter one, this is a fun way to stretch your legs as you make your way towards the park’s exit. For a fairly minimal amount of effort, you’ll be rewarded with some enjoyable wildflower views and potentially some elk herds if you’re there at the right time!
Stop 2: Alpine Ridge Trail
- Length: 0.7 miles
- Elevation Gain: 147 feet
- Type: Out and Back
- Difficulty: Easy
- Estimated Time to Complete: 30 minutes
While this is just a bit up the road and another fairly short hike, half the fun of the final day is the scenic drive through the western half of Rocky Mountain. This is a well-trafficked trail, so hopefully you started your day early! Even with the crowds, you’re guaranteed some fantastic views at the peak of the hike. Overall a flat hike, this is another approachable one for all ages.
Stop 3: East Shore Trail
- Length: 5.7 miles
- Elevation Gain: 416 feet
- Type: Out and Back
- Difficulty: Easy
- Estimated Time to Complete: 2.5 hours
Now we get to the main part of the final day! Grand Lake and the trailheads in this area aren’t technically a part of the park, but they are just outside of the park’s borders (and you’ll actually hike back into the park).
You’ll start off next to Grand Lake, but you’ll actually be following Shadow Mountain Lake for the duration of this hike. Make sure to pay attention and stay on the trail as there are certain areas of private property right next to the lake. You’ll likely run into plenty of others on the trail to help keep you on course though! The very beginning and very end of this trail have steep inclines and declines, but the middle five miles or so are fairly flat and moderate.
You’ll find parking at the end of Shadow Mountain Drive, which you can reach from Lakeside Dr or Cairns Ave. From there, you can cross to the other side of the bridge and the trailhead towards the end of 3rd Street. You may also be able to park by the trailhead itself, but there’s no guarantee there will be room.
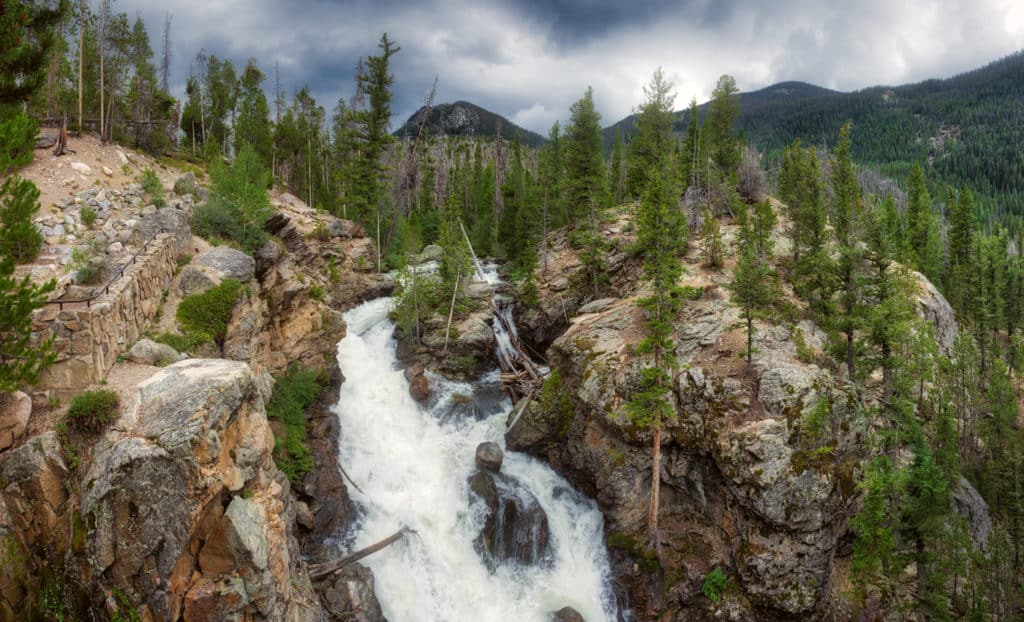
Stop 4: Adams Falls Trail
- Length: 0.8 miles
- Elevation Gain: 104 feet
- Type: Loop
- Difficulty: Easy
- Estimated Time to Complete: 25 minutes
Last but certainly not least is a short trek to a waterfall. This is a reasonably short, easy hike so you can save your energy for enjoying Grand and Shadow Mountain Lakes or exploring the surrounding area. There is ample parking by the trailhead and this quick hike gives you the rest of the day to relax and enjoy all the Rocky Mountains have to offer.
If you have a short day, you can edit this itinerary to suit your needs, but you can’t go wrong with any of these hikes!
We’ve mentioned the altitude before, but make sure you’re aware of the signs of altitude sickness and that you don’t push yourself too hard so you can enjoy your full three days in Rocky Mountain!
Hopefully this itinerary has helped inspire your next trip to the heights of Rocky Mountain National Park. We can’t wait to hear all about it!


Thank you soooo much! Super useful guide. I’ll come back and tell you all about my hikes next month ;)