

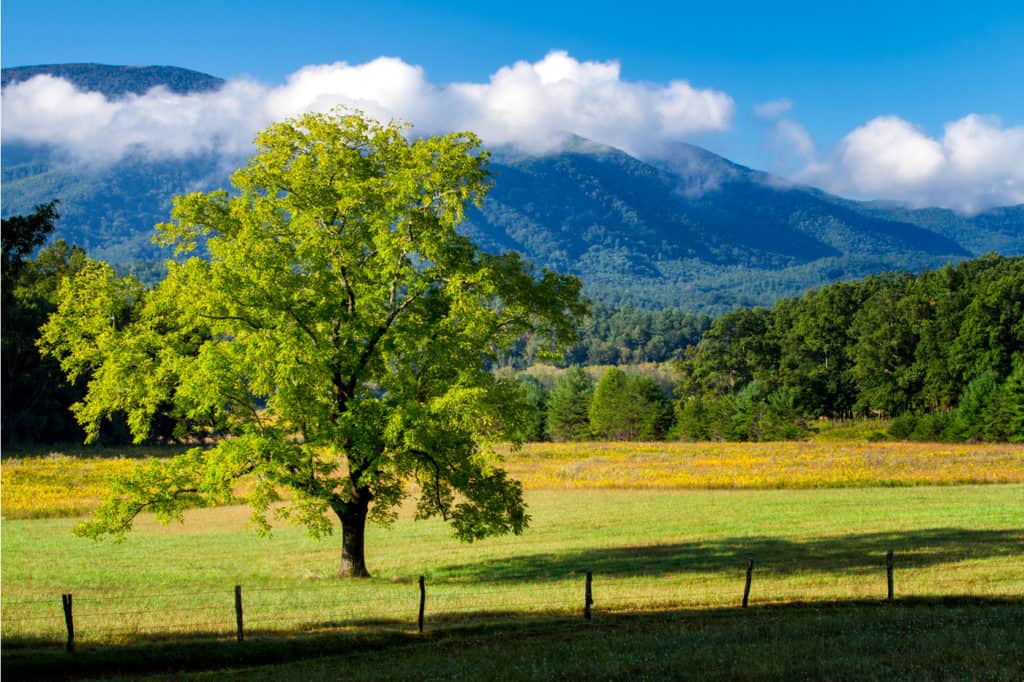
Nestled in a subrange of the Appalachian Mountains, one of only three major mountain ranges in the United States, lies Great Smoky Mountains National Park.
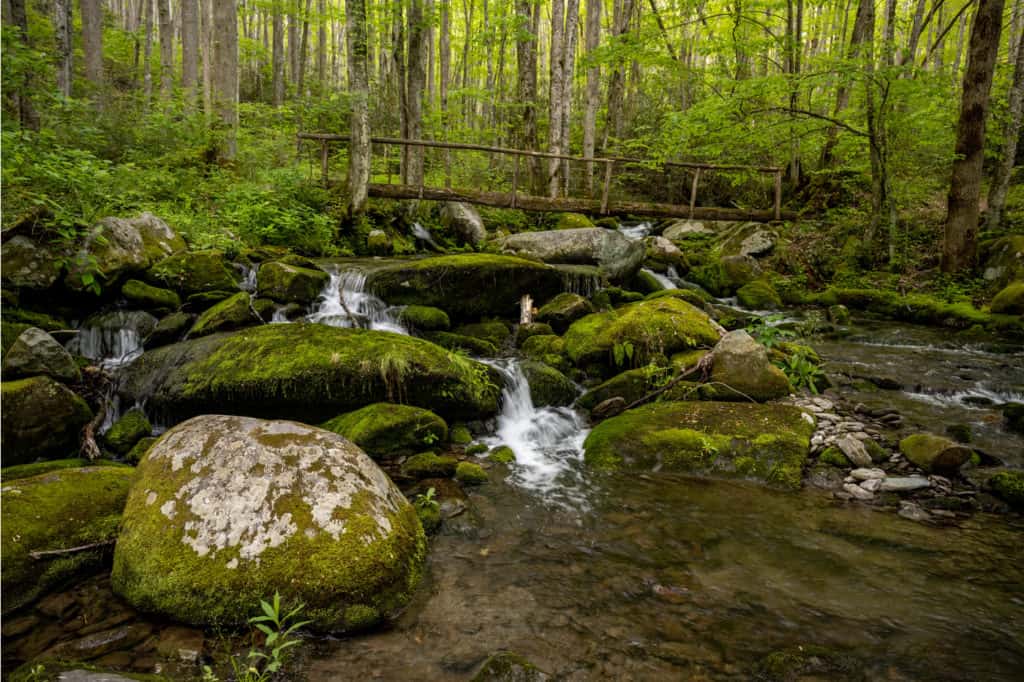
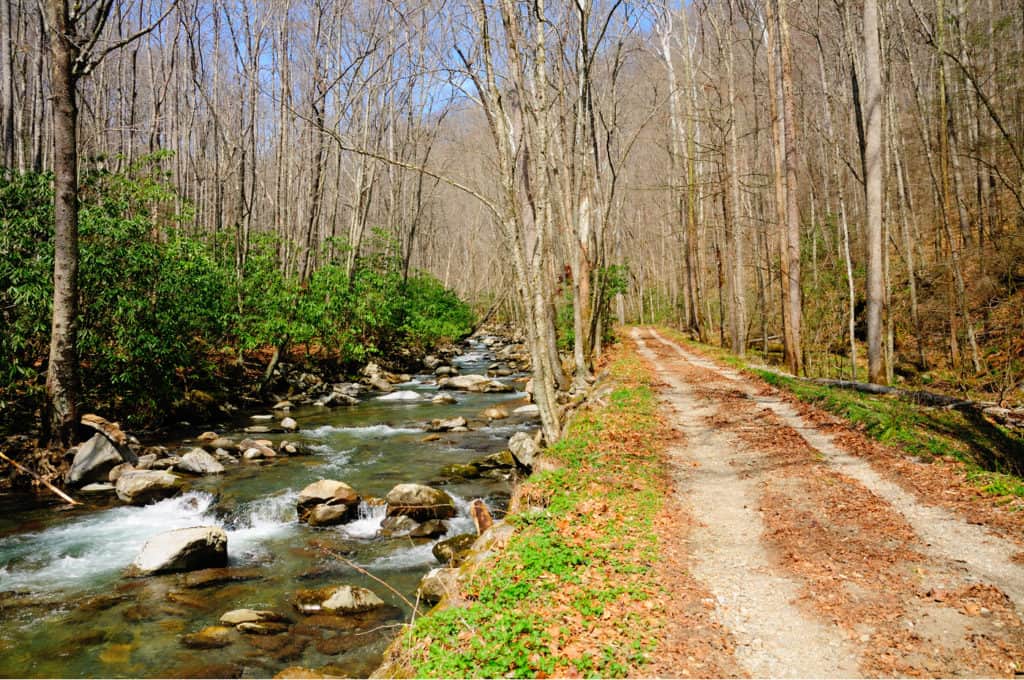
The Cherokee Nation, the original inhabitants of the land, referred to it as the, “Place of blue smoke” and for good reason! The park actually gets its blue haze from the moisture of its waterfalls and rivers interacting with the dense vegetation.
While you may think of parks like Yosemite, Yellowstone, or Zion when you think of national parks, Great Smoky Mountains is actually the most visited national park in the US! This may be due to the park’s lack of entrance fee. Head into the Great Smokies without paying a dime!
Unlike parks such as Yosemite, Great Smoky Mountains has a split “peak season.” Highest visitation rates for the park are mid-June to mid-August as well as the entire month of October. If you’re looking to avoid the crowds, you may have a larger offseason in which to do so than many other parks.
If you’re looking to find solitude while visiting the Great Smokies, the same rules apply as with all other popular parks. Assuming you’re able to, planning a trip during the off-season is your best bet. With the split peak season in this park, September could be a great time to plan a visit! If you only have time during the summer, don’t fret! You can still start your days early and plan ahead to avoid headaches of long lines and short staffs.

Before Entering the Park
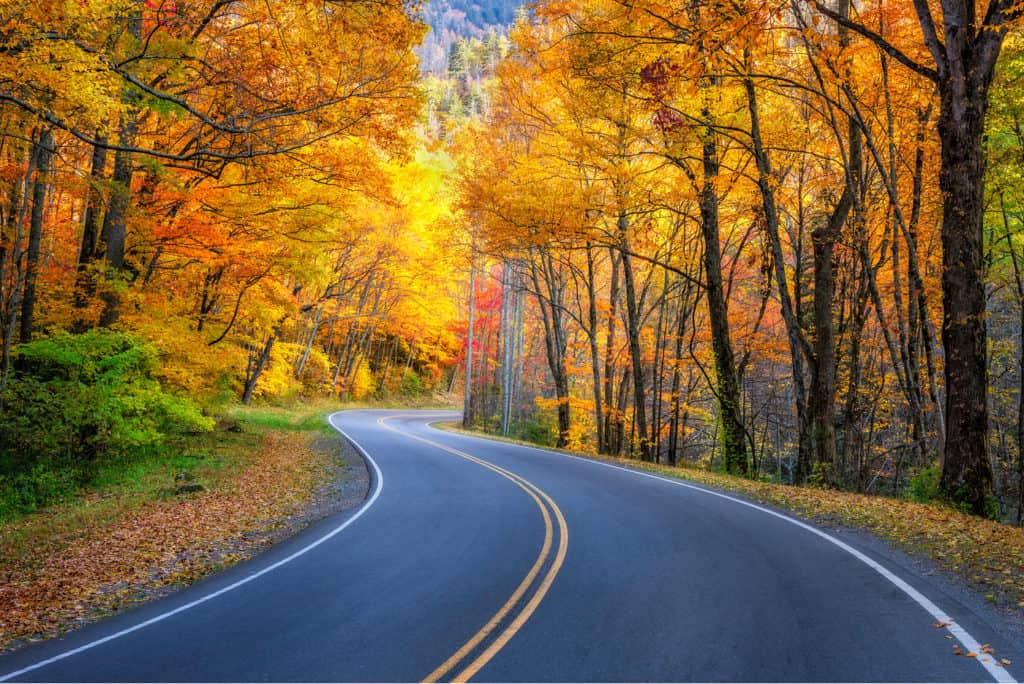
Great Smoky Mountains is open year-round, 24 hours a day (weather permitting). Major roads stay open year-round, however secondary roads close seasonally once fall hits and open back up in the spring. Make sure you check the park’s website for the most up to date information if visiting during the winter!
Major roads close intermittently as, even though the park straddles Tennessee and North Carolina, the higher elevations do get snow throughout the winter months. While lower elevations get a few dustings a year, higher elevations may see as much as five feet annually.
Be especially aware if travelling via US-441, also known as Newfound Gap Road, as that tends to close a double-digit number of times throughout the colder months. During the peak of the summer, there is no daytime lane closures, so you can trade crowds for lack of road delays if you’re an extrovert who hates traffic. Closures are ever-changing, so always check with the park’s website for new announcements.
Day One in the Park
Usually, your first day is going to be the most flexible depending on what time you enter the park. If you enter later in the day, you can cut out some of the hikes and just pick the ones that sounds most interesting. Of course, starting in the morning will allow you to experience the full itinerary and take your time while doing it!
Day one is based around the Cades Cove area of Great Smoky Mountains, an idyllic section of the park with interesting historical finds and fun, approachable hikes! This is most convenient if you’re entering from the Townsend, TN entrance. You can also go through the Sugarland entrance, near Gatlinburg, which is the most popular (and crowded) option into the park.
You can of course mix and match the days to your liking, especially if you don’t plan to enter from the north side of the park.
Stop 1: Pine Oak Nature Trail
Length: 0.8 miles
Elevation Gain: 203 feet
Type: Loop
Difficulty: Easy
Estimated Time to Complete: 30 minutes
If you’re coming in from the Townsend entrance, this will be easy to find. Follow State Route 73 will take you into the park and become the Townsend Entrance Road. Follow that until the road forks and turn right onto the Laurel Creek Road. From there, just follow the road until you see the Cades Cove Campground area (a conveniently located place to spend the night if you plan to bring out the tents). You’ll find a number of parking lots in the area and will be located near a number of great hikes!
Turn left onto the Cades Cove Campground Entrance Road and take that towards the trail head. You should see a couple of parking areas near the ranger station. Once you’re situated, the Pine Oak Nature Trail is a great way to stretch your legs and start seeing the park!
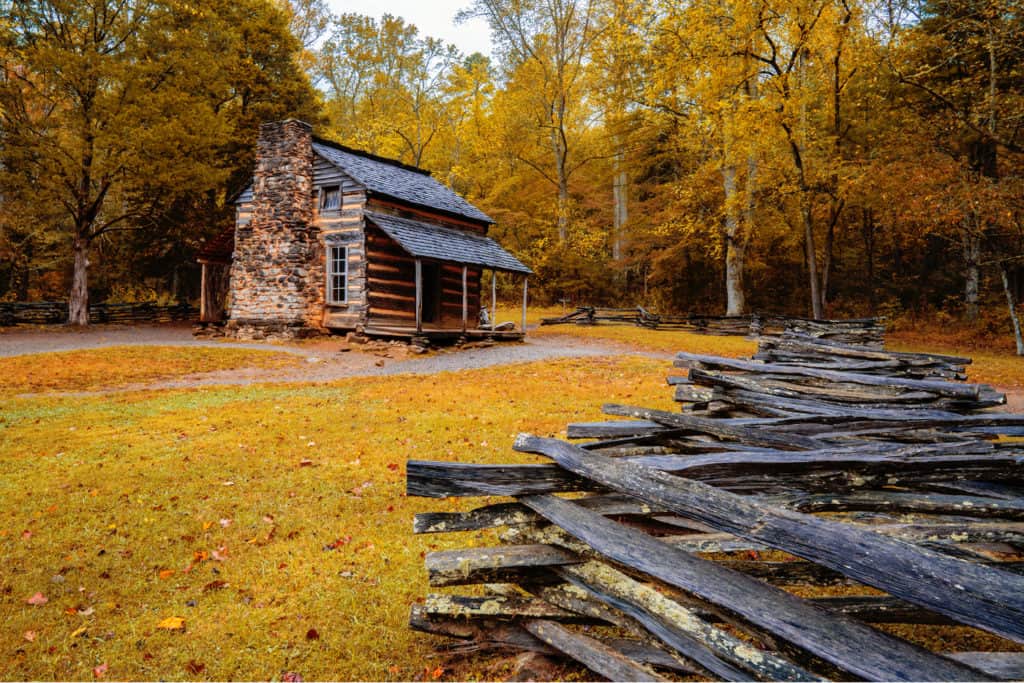
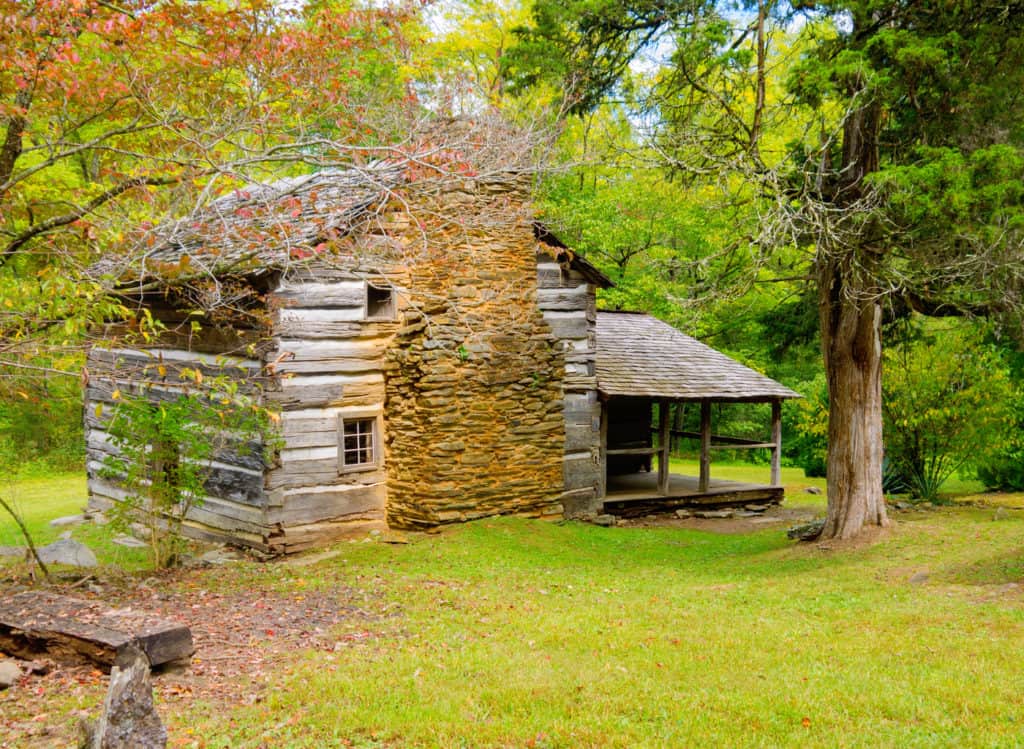
Stop 2: John Oliver Cabin
Length: 0.5 miles
Elevation Gain: 39 feet
Type: Loop
Difficulty: Easy
Estimated Time to Complete: 15 minutes
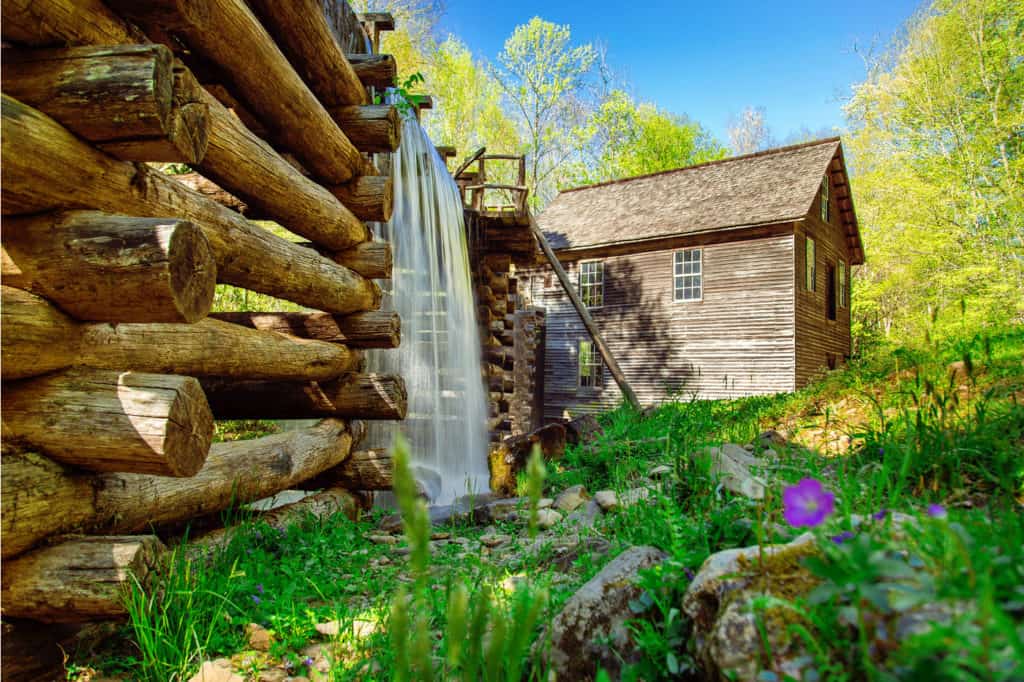
If you’re thinking the late-night TV host from across the pond lived in this cabin, I have some bad news for you. This historical cabin dates back to the 1820s and is an easy half mile loop trail. Parking is conveniently located at the trailhead and there are informational signs by the cabin if you’re interested in learning about a part of the park’s history!
Stop 3: Elijah Oliver Place Trail
Length: 1.2 miles
Elevation Gain: 98 feet
Type: Out and Back
Difficulty: Easy
Estimated Time to Complete: 30 minutes
The great thing about Cades Cove is if you follow the Cades Cove Loop Road, you can find some great hikes all in a row and end up back where you started! Convenient whether you’re camping at Cades Cove or heading out of the park to stay in one of the surrounding cities.
Third up is the Elijah Oliver Place Trail. A quick jaunt to some more cabins with a small river crossing, this is an approachable hike for all skill levels. While it isn’t incredibly likely you’ll see bears on this hike, Elijah Oliver Place does get reports of bear activity, so just be aware and you’ll be set! There’s a bit of a decline just over half a mile into the trail as you start your return trip, but other than that it’s flat and easy.
Parking is right next to the trailhead in a pull-off, with the trailhead at the far end of the parking area.
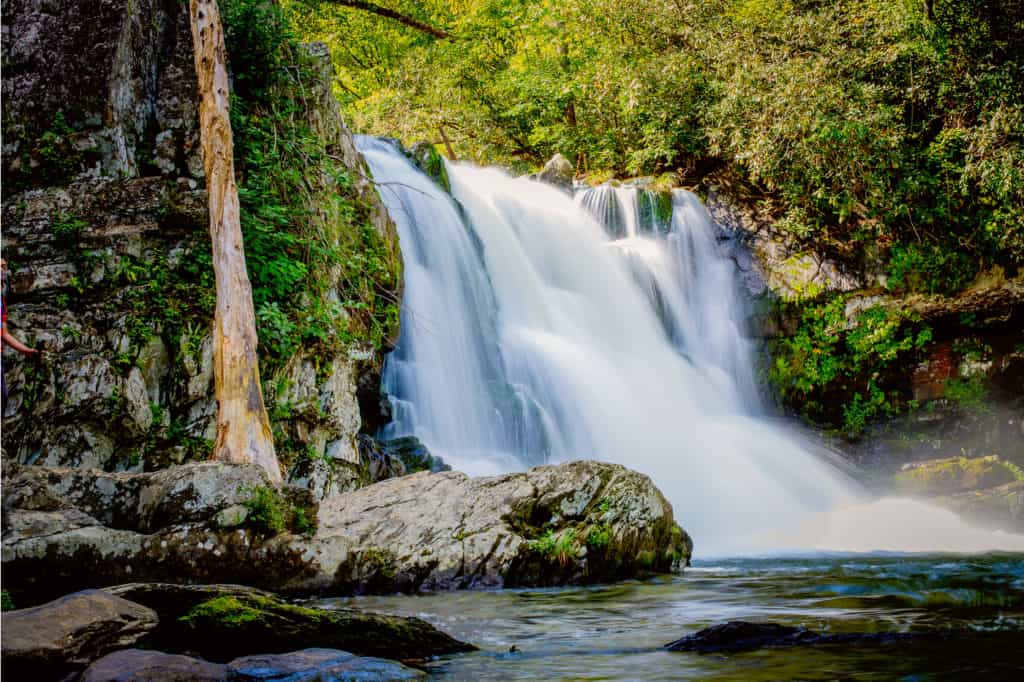
Stop 4: Abrams Falls Trail
Length: 5.5 miles
Elevation Gain: 629 feet
Type: Out and Back
Difficulty: Moderate
Estimated Time to Complete: 2.5 hours
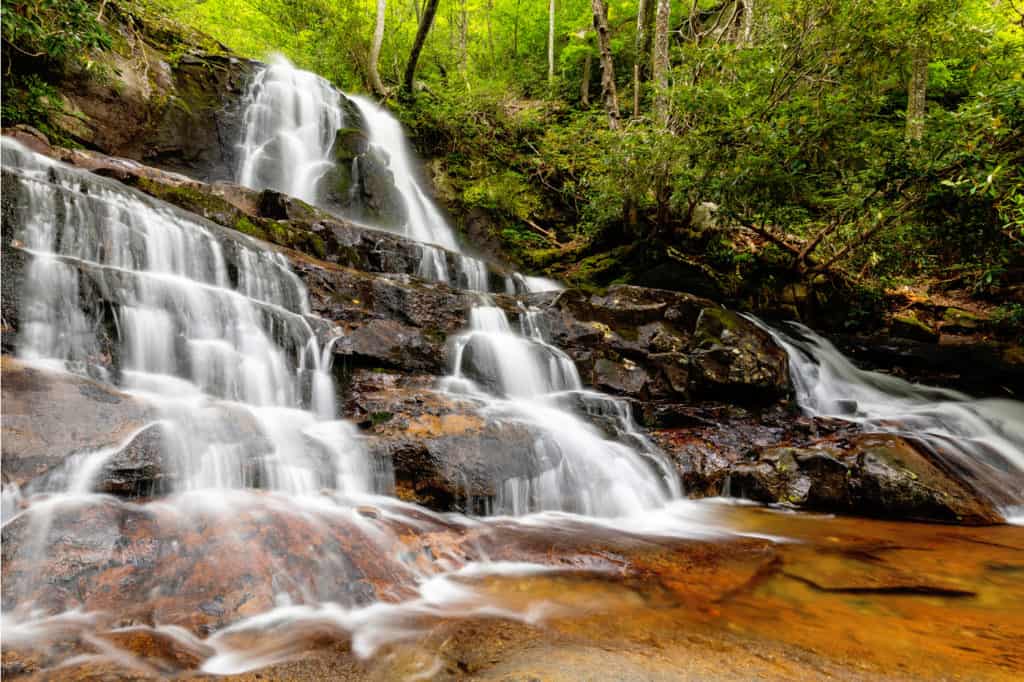
Possibly the best hike in Cades Cove, Abrams Falls Trail is an out and back that greets you with a waterfall and an opportunity for a swim! Bring a towel and some flip flops if you want to get into the water (and you definitely do)! While you can hike the trail in around two and a half hours, you’ll definitely want to budget some time to enjoy the waterfalls!
The tenth of a mile or so leading to the falls is a fairly steep downhill and the trek back out, therefore is a decently steep uphill. There are a couple of steep spots early in the trail (and those, of course, become steep descents on the way back), but all of the ups and downs are entirely manageable and shouldn’t put you off!
While this is definitely the most strenuous trail you’ll see on day 1, it is by far the most rewarding as well! Luckily, parking is right by the trailhead after turning onto Abrams Falls Road.
Day Two in the Great Smoky Mountains
Day 2 starts with a drive from Cades Cove to Elkmont. If you decided to camp (and Great Smoky Mountains is a great place to camp), it’ll take you about 45 minutes to get there. If you opted to stay in town, plan accordingly as you’ll need to re-enter the park, most likely through the popular Sugarland entrance.
Elkmont is a former logging community and, you guessed it, former home to many elk. Elkmont is one of the most popular parts of the park and for good reason! It holds the busiest and largest campground area in the entire park with 200 sites available for tents and RVs.
Stop 1: Walker Sisters Home via Little Brier Gap Trail
Length: 4 miles
Elevation Gain: 465 feet
Type: Out and Back
Difficulty: Easy
Estimated Time to Complete: 1.5 hours
If coming from Cades Cove, you’ll take Laurel Creek Road back the way you come until it becomes Little River Gorge Road after you pass the fork for the Townsend Entrance Road. Your first stop on day 2 isn’t actually in Elkmont itself, but about halfway between Cades Cove and your destination.
The Walker Sisters Home hike is an easy and pleasant one and will break up the drive if you’ve got impatient passengers! If you start early, you may only have a few other hikers with you. This trail is semi-popular but going early will avoid most other hikers. As may be suggested by the name, you’ll get to experience more of the park’s history with the home and schoolhouse buildings on this trail.
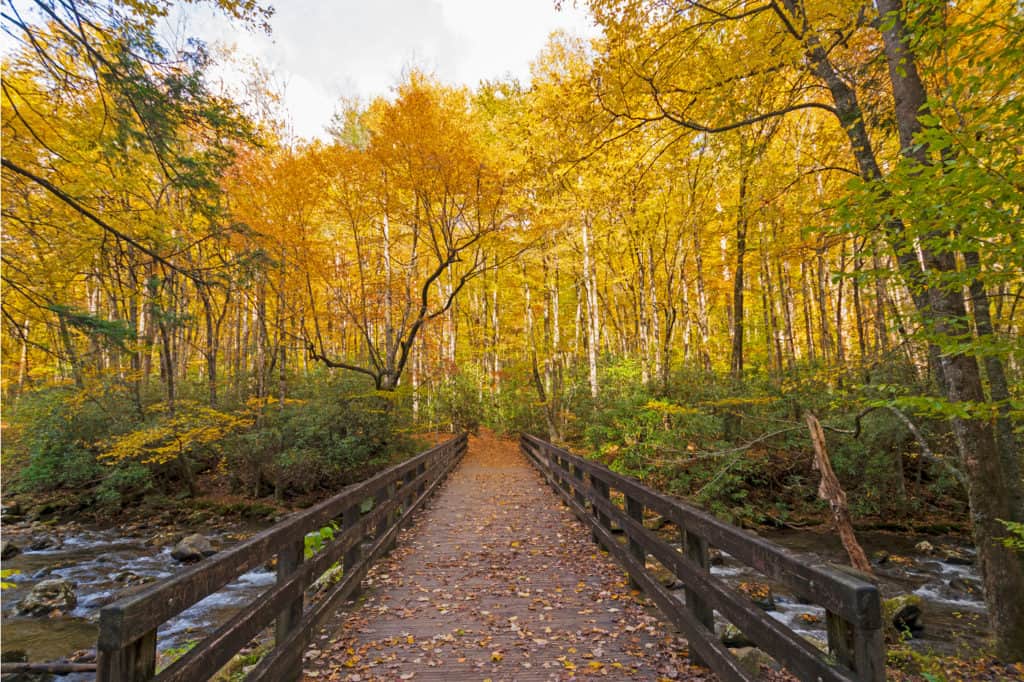
Make sure you look for the Wear Cove Gap Road to turn onto, then turn onto the Metcalf Bottoms Picnic Area Road S. You’ll park in the picnic area and then cross the bridge to get to the trailhead.
Stop 2: Elkmont Nature Trail
Length: 0.8 miles
Elevation Gain: 95 feet
Type: Loop
Difficulty: Easy
Estimated Time to Complete: 30 minutes
If you’re looking for a convenient trail to explore the Elkmont area (or didn’t feel like stopping along the way) then the Elkmont Nature Trail is for you. A simple trail, accessible for all levels of hiking prowess, it’s a great way to start your time at Elkmont.
Since you’re in the campground area, you’ll have plenty of parking options, although there is parking right by the trailhead for the Elkmont Nature Trail.
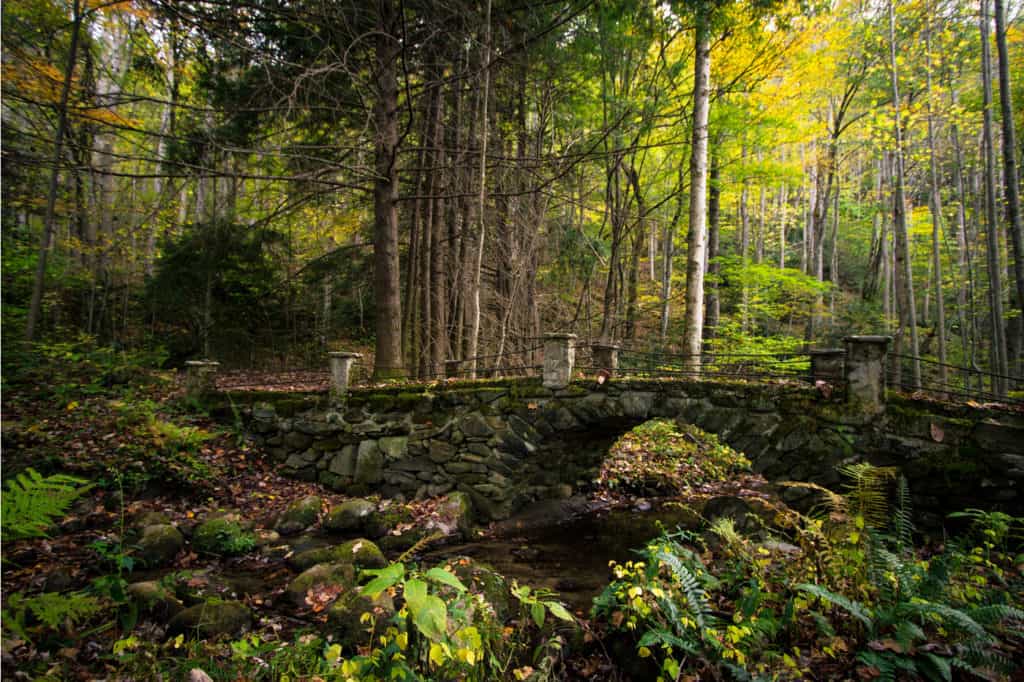
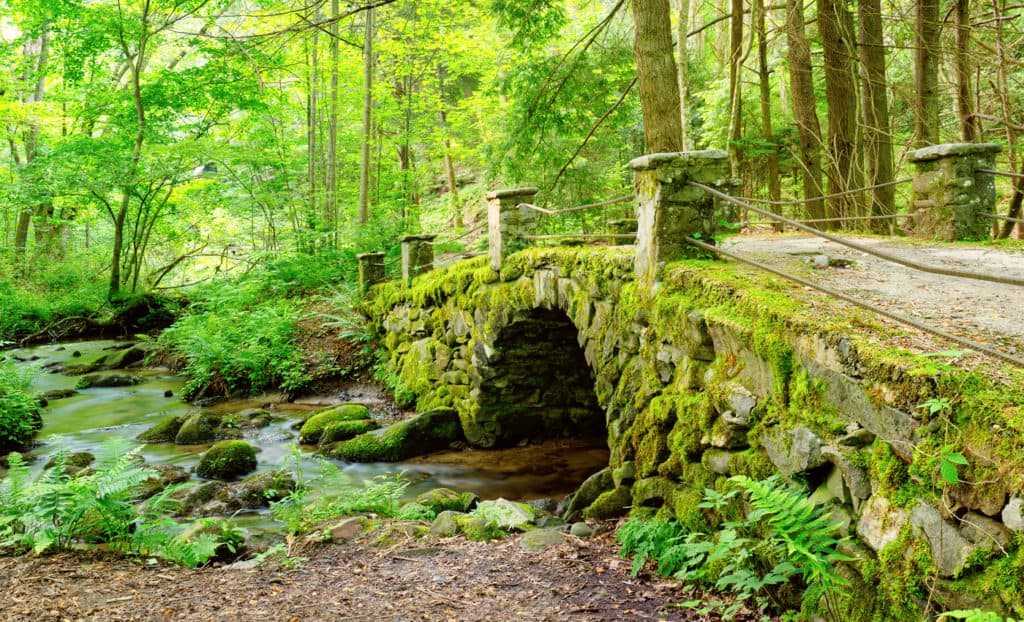
Stop 3: Huskey Branch Falls Trail (or Cucumber Gap and Little River Loop Trail)
Length: 4.7 miles
Elevation Gain: 383 feet
Type: Out and Back
Difficulty: Moderate
Estimated Time to Complete: 2 hours and 15 minutes
Just down the Little River Road is Huskey Branch Falls. While not the largest falls by any means, this trek is a relaxing one that is definitely worth your time.
If you get to the turnaround point and feel that you could go a bit further, you can take a sharp turn to your right and follow the Cucumber Gap Trail, adding on roughly three quarters of a mile, but taking about the same amount of time that doing the out and back would, turning the trail into a loop and making it the Cucumber Gap Trail and Little River Loop Trail.
Stop 4: Jakes Creek Trail to Avent Cabin
Length: 2.7 miles
Elevation Gain: 482 feet
Type: Out and Back
Difficulty: Easy
Estimated Time to Complete: 1.5 hours
If you have some extra time and energy to spare, the Jakes Creek Trail is a great way to cap off day 2. While it takes an hour and a half or so, being that it’s an out and back, you can always cut it a bit short. However, if you make it to the Avent Cabin, you get an opportunity to put your name in the guest book located in the kitchen! You’ll also be rewarded with some of the Great Smokies’ best forest to walk through!
Day Three in the Great Smoky Mountains
If you only have three days to spend in the Great Smokies, the best way to end your trip is by going to Smokemont. With lots of amenities, Smokemont is a great place to use as a base for your last day.
If you’re leaving from Elkmont, take Elkmont Road out of the campground area and make a right onto Fighting Creek Gap Road to head towards Smokemont. Follow this road until you pas the Sugarland Visitors Center and come to a T intersection. Turn right onto US-441 (Newfound Gap Road) and follow that until you reach Smokemont.
Stop 1: Laurel Falls Trail
Length: 2.4 miles
Elevation Gain: 396 feet
Type: Out and Back
Difficulty: Easy
Estimated Time to Complete: 1 hour and 15 minutes
Like yesterday, the first stop is actually before you get to the focus of the day. This one isn’t too far beyond the Elkmont campground, but conveniently located on the way to Smokemont. At just under two and a half miles, it’s a great way to stretch your legs early in the morning. If you don’t have a full day to spend, you can omit this trail and head straight for Smokemont.
If you have the time, this out and back is a gradual uphill and gradual downhill, which should be doable for all hikers. With parking on both sides of the road near the trailhead, you shouldn’t have problems finding a spot, especially if you leave early.
Stop 2: Kephart Shelter via Kephart Prong Trail
Length: 3.9 miles
Elevation Gain: 833 feet
Type: Out and Back
Difficulty: Easy
Estimated Time to Complete: 2 hours
Just outside of Smokemont itself is the Kephart Shelter hike. At just under four miles, this hike is good for most all hikers, even those with kids. With a creek beside you throughout, this trail is a lot of fun to explore and promises some great early morning hiking. It is a quite popular trail, so you may want to pick this or the Laurel Falls Trail if you’re short on time. As with many other Great Smoky Mountains trails, this one has parking on both sides of the trailhead.
Stop 3: Smokemont Self-Guided Nature Trail
Length: 0.6 miles
Elevation Gain: 157 feet
Type: Loop
Difficulty: Easy
Estimated Time to Complete: 20 minutes
A fun way to start out your Smokemont area hikes, especially if you have kids in tow, this short loop is easy and starts and ends by the Bradley Fork River. Expect to have shade and lots of greenery throughout.
Stop 4: Smokemont Loop Trail
Length: 5.9 miles
Elevation Gain: 1,407 feet
Type: Loop
Difficulty: Moderate
Estimated Time to Complete: 3.5 hours
If the Self-Guided Nature Trail got you excited about Smokemont, this is just the trail for you! The first two miles are a fairly gradual uphill, however the next two are a gradual downhill and the last two are flat. If you take your time (and bring some snacks), this is the perfect way to cap your time in the Great Smokies.
Follow US-441 until you see a left turn for Smokemont Road to cross the Oconaluftee River. Make your first left and head up Smokemont Road until you come to the fork. Follow it to the right and head towards the Smokemont Camping Area for parking. You’ll pass a ranger station on your left heading into the camping area if you have any questions.
If you have a short day, you can edit this itinerary to suit your needs, but you can’t go wrong with any of these hikes.
Hopefully this itinerary has helped inspire your next trip to the US’s most visited national park! We can’t wait to hear all about it!


No Comment